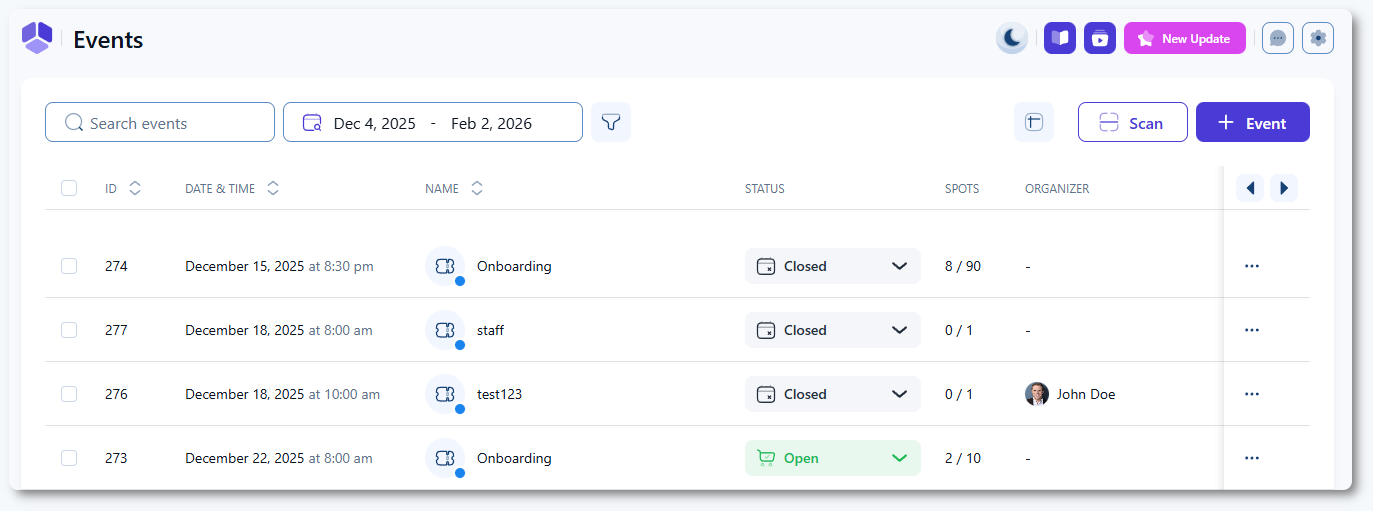
If you add an image to an event, it will be shown only in the Events list booking form, in the list itself, while the images uploaded through the Gallery tab will be seen in the event preview when Read more is clicked in the Events list form or the event card itself is clicked in the Events calendar form.


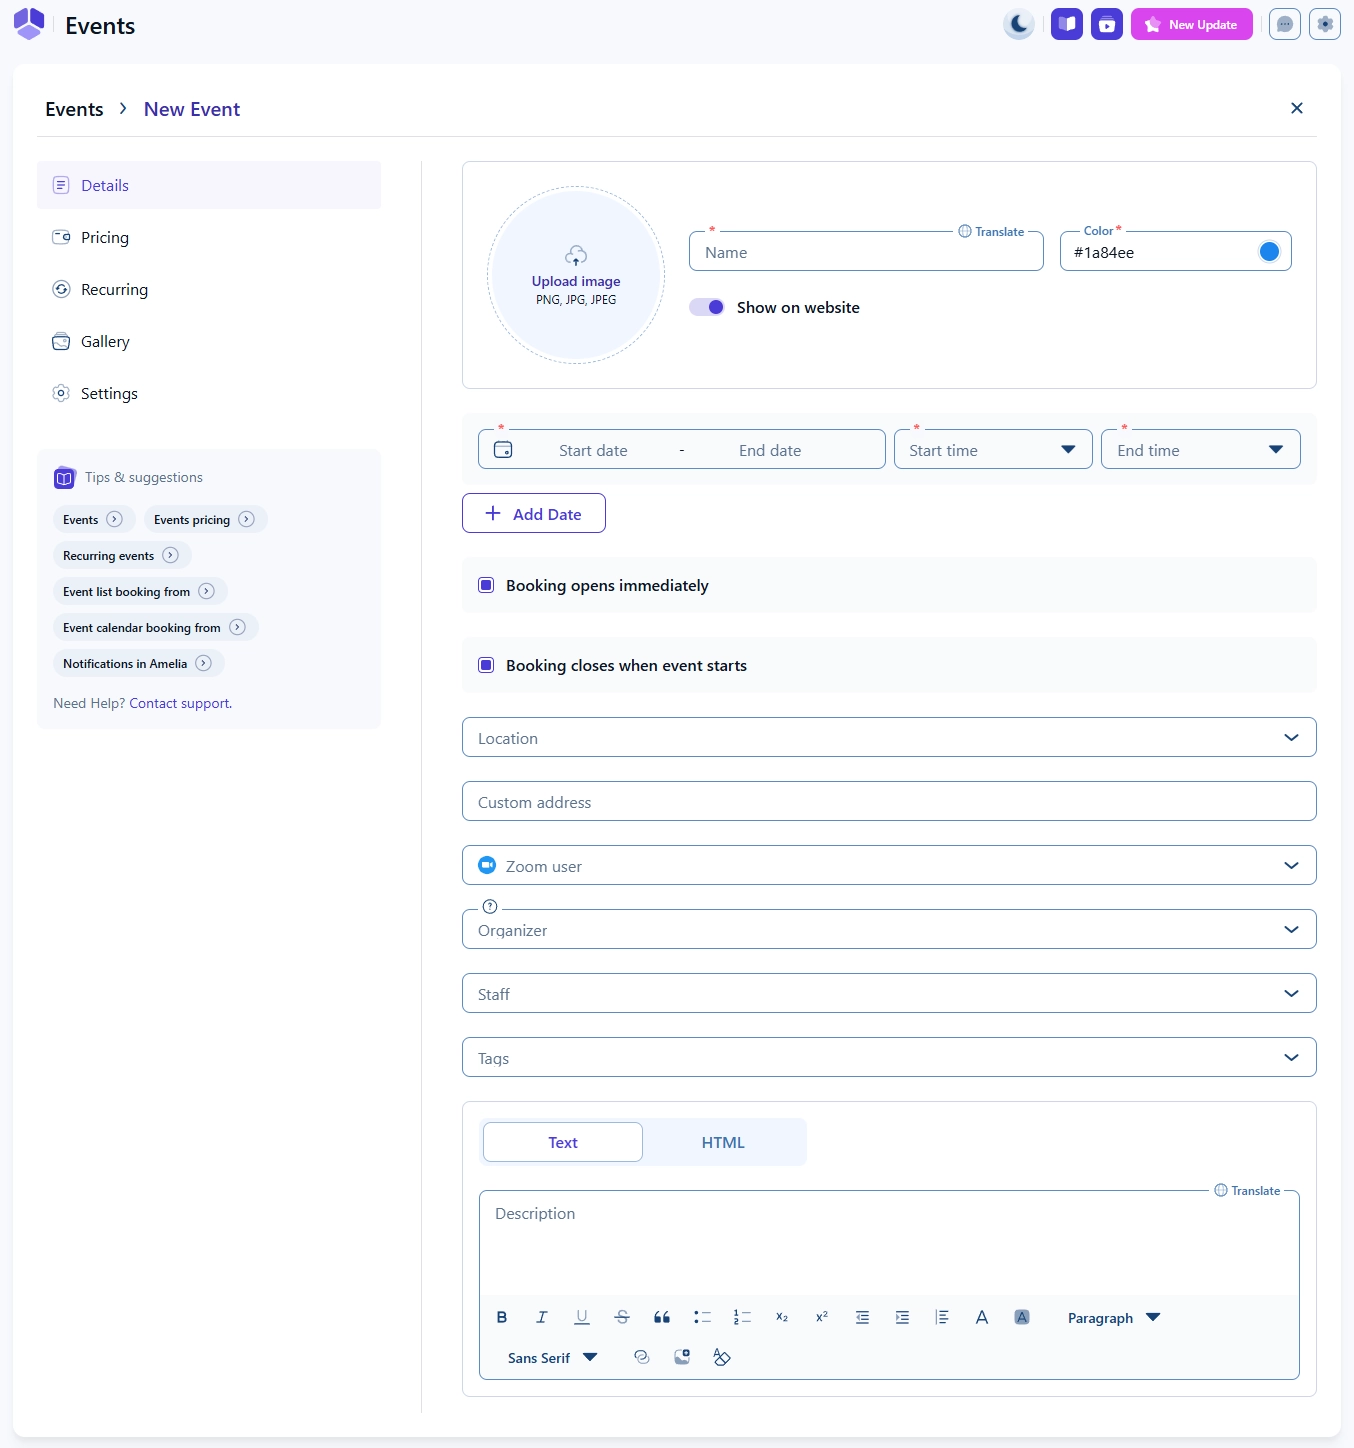
Both rules depend on the event’s defined dates. Booking cannot open after the event begins, and it cannot close after the event ends.
If you select a Location from the dropdown list, the Custom address field disappears.


You can fully create and publish an event using only the Details tab. If you need to define pricing, capacity, deposit rules, payment methods, or recurring schedules, visit the other articles in the Events category of this documentation.