The Zoom integration is available in the Standard, Pro, and Elite license plans.


Copying the credentials doesn’t complete the process. We’ll need to come back to Zoom’s Marketplace again, so keep that window open.


We recommend copying and pasting each scope directly into Zoom’s search field. Do not enable any additional scopes. These five scopes are mandatory; no more; no less.

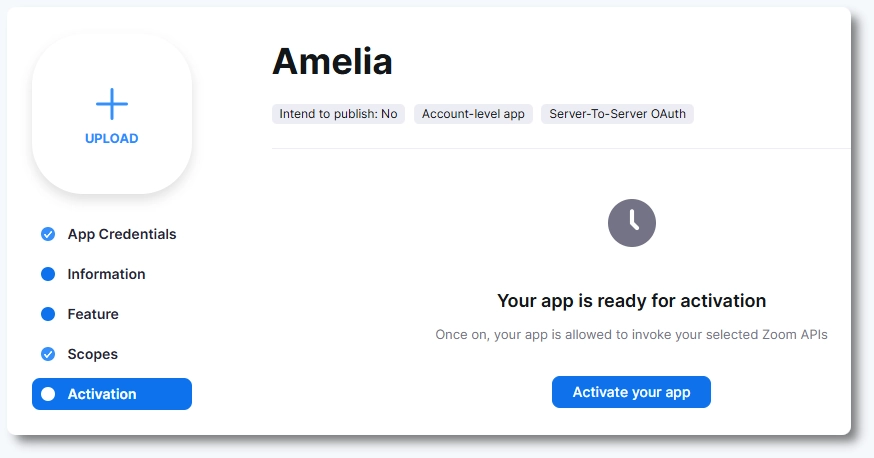
If the activation option is unavailable, Zoom will display missing requirements. Review the listed items and complete them before retrying activation.
