What are employees in Amelia
Employees in Amelia represent the people who deliver your services and accept appointments. Every service-based booking in Amelia is performed by an employee, which means at least one employee must exist before services can be booked.
Employees allow Amelia to manage availability, working hours, breaks, days off, locations, and booking limits on a per-person level.
Why are employees required for services?
Amelia is built around the idea that services are always delivered by a person. Because of that, services cannot be booked unless at least one employee is created and assigned to them.
By assigning services to employees, Amelia can control individual schedules, prevent double bookings, apply location rules, and manage personal availability exceptions.
Are employees required for events?
No. Employees are not required for events.
Events in Amelia can be created and booked without assigning an employee. This makes events suitable for group activities, webinars, workshops, or any booking type that does not depend on a specific staff member.
What happens when no employees exist?
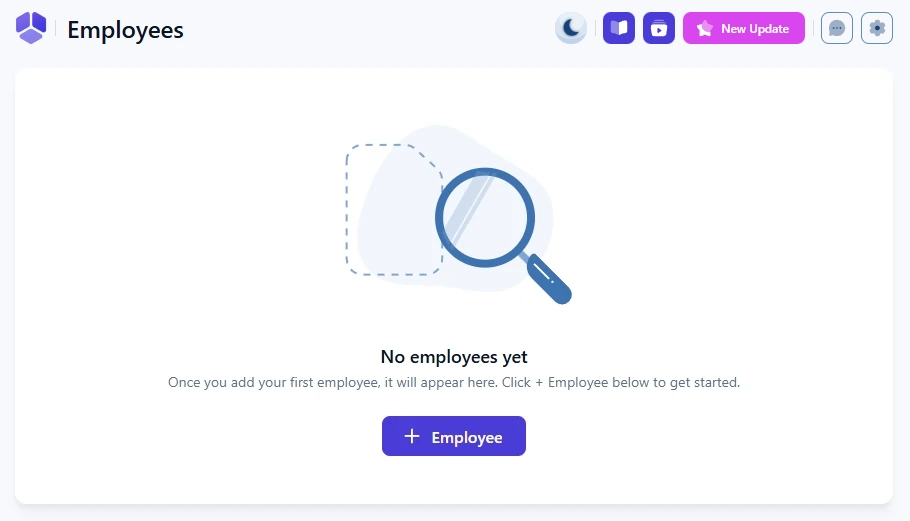
On a fresh installation, the Employees page opens in an empty state. Amelia displays a short message explaining that no employees have been created yet and provides a + Employee button as your starting point.
Until at least one employee is created and assigned to a service, service-based bookings cannot be completed.
What changes after the first employee is created?
After the first employee is saved, the page switches to the employees list view. From that point on, all employee management is handled from this list, including editing profiles, hiding employees from the front end, duplicating employees, and deleting them.
The + Employee button moves to the top-right corner and is used to add additional employees.

What if my business has only one employee?
If your business has only one employee and you prefer not to display them during booking, no additional configuration is required.
When only one employee exists, Amelia automatically hides the employee selection step on the booking form and assigns all bookings to that employee.
How do I create and configure an employee?
Employees are created from the Employees page using the + Employee button. The creation process opens a full-page editor where you configure employee details, assigned services, working hours, availability exceptions, and integrations.
For detailed step-by-step instructions, see this dedicated guide.