What are Custom Fields in Amelia
Custom Fields in Amelia let you collect additional information from your customers during booking or as part of their customer profile, beyond basic contact details like name, email, and phone number.
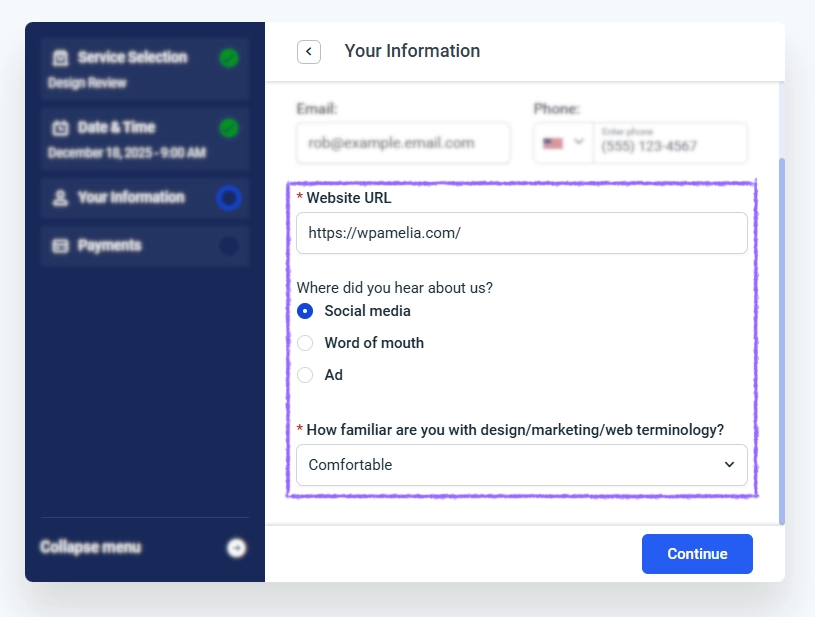
For example, a clinic can ask patients for additional medical notes before the appointment, or a workshop organizer can collect attendee preferences and consent directly on the booking form.
Both booking-related and customer-related Custom Fields appear below the default fields on the booking form when enabled, but the way the information is stored depends on the field type.
- Booking-related Custom Fields are saved with each individual appointment or event booking.
- Customer Custom Fields are stored in the customer profile and remain available for future bookings.
Custom Fields are available in the Standard, Pro, and Elite license plans.
What do Custom Fields do?
Custom Fields act as a flexible data collection layer that allows you to fully adapt the booking form to your business workflow.
- Add text inputs, dropdowns, checkboxes, radio buttons, file uploads, date pickers, and address fields.
- Customize labels, descriptions, placeholders, and visibility per service or event.
- Define which fields are required and which are optional.
- Translate custom field labels and values for multilingual websites.
- View and edit submitted values inside appointments, event attendees, and the custom field management screen.

How do I enable and configure the Custom Fields feature?
The Custom Fields feature is managed from Amelia → Features & Integrations → Features, where clicking Enable activates the feature and reveals the Set up and Disable buttons.
Inside the Set up screen, you can define how custom field data behaves in group bookings, where file attachments are stored, and whether required fields must be enforced for backend bookings.

How does group booking custom field data behave in notifications?
The Group booking custom fields delivery option controls how custom field values are included in employee notification emails for group bookings.
- All customers – Each notification includes custom field data for the newly added customer and all previously booked customers.
- Per customer – Each notification includes custom field data only for the customer who just completed the booking.
These values appear in notifications only if the corresponding Custom field placeholders are inserted into the template.
How does the attachment upload path work?
The Attachment upload path option defines where uploaded files from Attachment custom fields are stored on your server.
If left empty, files are uploaded to the default WordPress directory: ..wp-content/uploads/amelia/
If you want to use a custom directory, enter a relative path, such as: uploads/custom-attachments/
This stores uploads in ..wp-content/uploads/custom-attachments/ without requiring a full server path.
How does backend validation of required custom fields work?
The Validate required custom fields in the backend option controls whether mandatory custom fields must be filled when creating bookings from the admin panel.
- When disabled, backend bookings can be created without filling mandatory fields.
- When enabled, mandatory custom fields must also be filled for backend-created bookings.
How do I include Custom Fields in notifications?
Every Custom Field can be inserted into email and SMS notifications directly from the notification template editor.
Inside Settings → Notifications, open any notification template and scroll to the Content placeholders section below the message editor, then open the Custom fields dropdown to see a list of all available custom field titles.
Clicking a custom field name automatically inserts its corresponding placeholder at the current cursor position inside the template, using the following format:
%custom_field_1%
%custom_field_2%
%custom_field_3%
Because the real custom field titles are visible in the dropdown, you can easily recognize which field you are adding without guessing placeholder numbers.
For structured placeholder usage and full mapping, refer to the Custom field notification placeholders documentation.

What you should know before you start?
Before creating your first Custom Field, keep the following practical behaviors and limitations in mind to avoid unexpected results later.
- Deleted fields cannot be restored.
- Existing bookings are not affected by edits or deletions, only new appointments and events use the updated fields.
- New services and events do not inherit fields automatically unless All Services or All Events is selected.
- The Address field requires a Google Maps API key in Features & Integrations → Integrations → Google Calendar & Google Meet, otherwise it behaves as a standard text input.
- The Attachment field supports only
.jpg,.jpeg,.png,.pdf,.xls,.txt, and.csvfile formats. - HTML formatting is supported only in Text Content, Checkbox, and Radio Button fields.
- Customer Custom Fields are managed separately and apply only to customer profiles, not bookings.
- Do not rely on Custom Fields for payment validation or availability control.