Custom notifications are available in the Standard, Pro, and Elite.
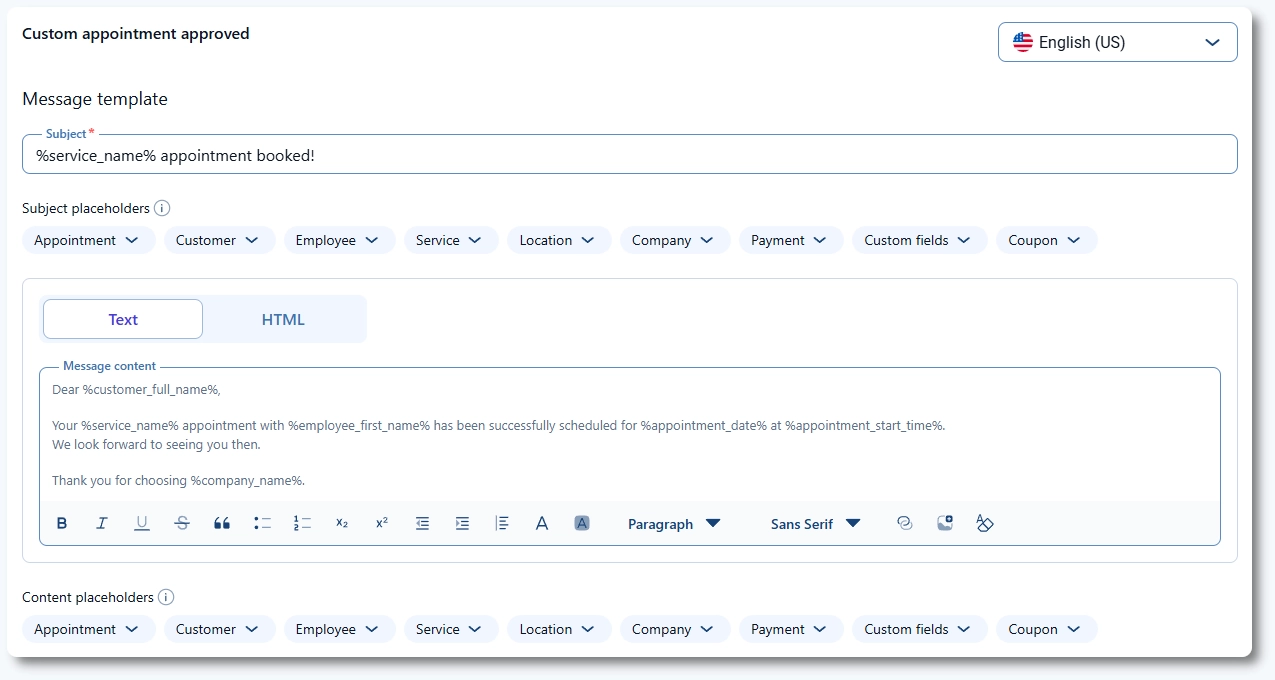
They can be created for Email, SMS, and WhatsApp, depending on the tab you are currently editing.
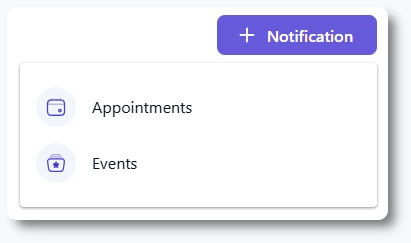

The screenshot above shows both action-based and scheduled options together for demonstration purposes, but in Amelia only one notification type can be selected at a time.
Scheduled notifications require a cron job on your website so messages are sent at the defined time. You can find setup steps in the Scheduled notifications guide.