Which options are available in general notification settings
General notification settings let you decide whether Amelia sends notifications automatically and define where customers and employees are redirected after actions like cancellations, approvals, and rejections. This section includes a set of custom redirect URL fields for both customers and employees.
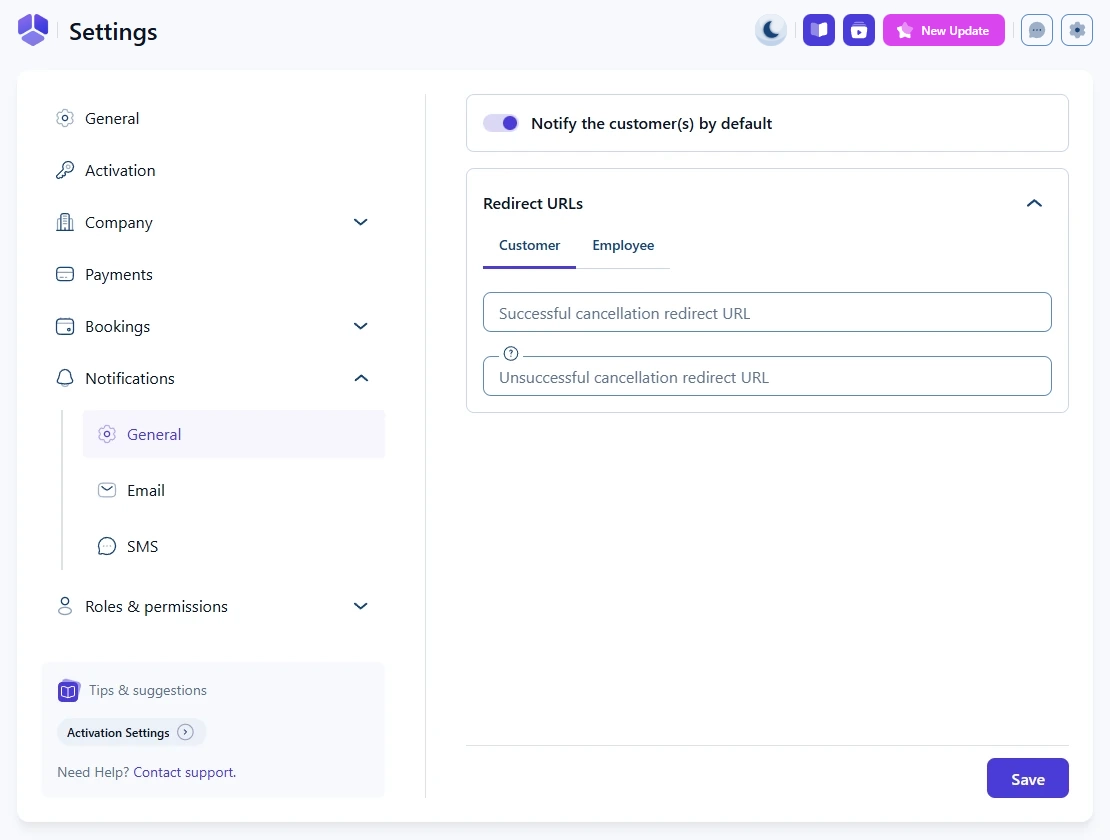
What are notification redirect URLs?
Notification redirects are custom pages customers or employees are sent to after they perform actions through links in notifications. The section expands when you click the down arrow and contains two tabs: Customer and Employee.
How do customer redirect URLs work?
The Customer tab contains two fields:
Successful cancellation redirect URL
Unsuccessful cancellation redirect URL
When customers cancel an appointment through the cancellation link, Amelia redirects them to the appropriate custom page. A successful cancellation sends them to the first URL. An unsuccessful cancellation (for example, if they try to cancel within a period restricted by Settings → General → Minimum time required before canceling) sends them to the second URL.
How do employee redirect URLs work?
The Employee tab contains four redirect URL fields tied to approval and rejection actions made through links in employee emails.
Redirect URL for successfully approved booking Employees are sent here when they successfully approve an appointment through the approval link.
Redirect URL for unsuccessfully approved booking Used when approval fails, for example if the appointment is already fully booked.
Redirect URL for successfully rejected booking Employees land here when they successfully reject (cancel) a booking through the link.
Redirect URL for unsuccessfully rejected booking Used when rejection fails. This can happen if an employee leaves the Employee Panel open for a long time and someone else changes or cancels the appointment, if the admin deletes the appointment, or if the server times out.
Example
Amelia does not create these redirect pages automatically. You need to build the pages manually in WordPress, publish them, and then paste their URLs into the fields in this section.