This integration offers you to send data from Amelia to numerous third-party applications after certain actions. Whether you need to add customer details to your CRM, send an additional email after booking or canceling, update the Google Spreadsheet, etc. integration with Thrive Automator is made for you. We have chosen to connect Amelia with Slack in this example, so we can receive a new notification whenever a customer books an event or appointment.
1. Install and activate the Thrive Automator plugin on your website.

2. Once the plugin is activated, you can open the Thrive Automator page from the sidebar of your WordPress admin dashboard. From there, click on the “Add New” button to add a new automation.
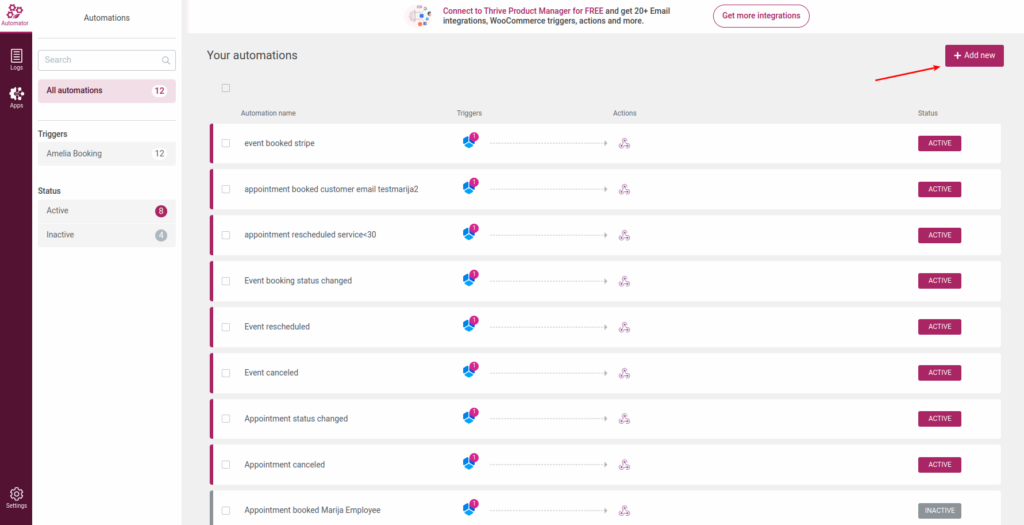
3. Next, you need to configure the newly-created automation.
Let’s start with the name of the automation:
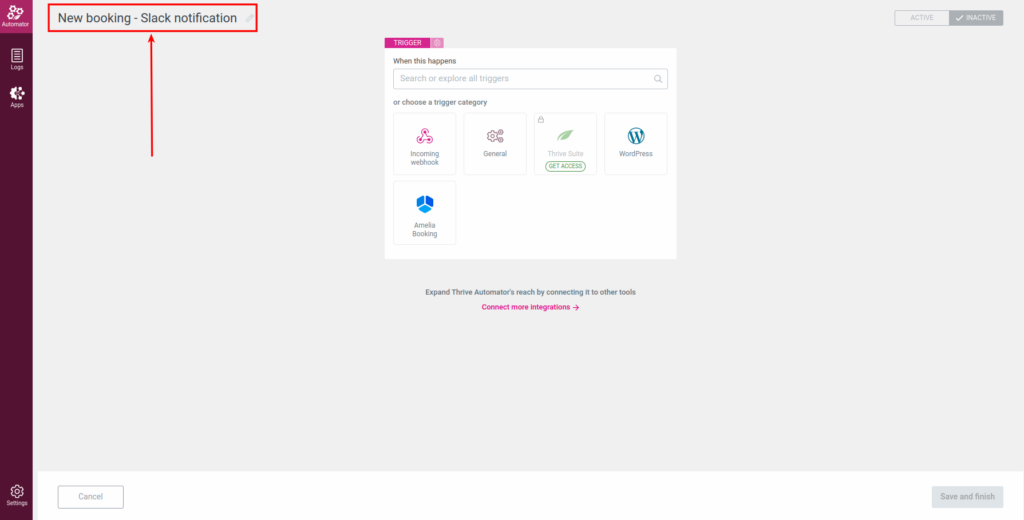
Then, you need to choose a trigger category, which is Amelia in this case:

And choose the start trigger, which will be “Event Booking Created” in this case:
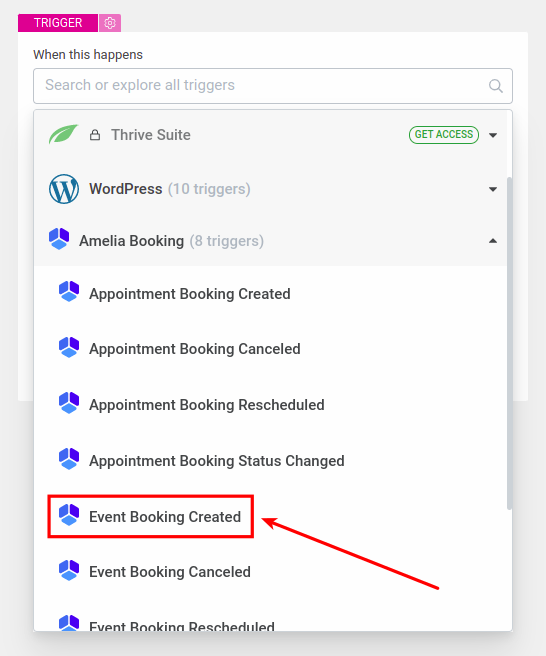
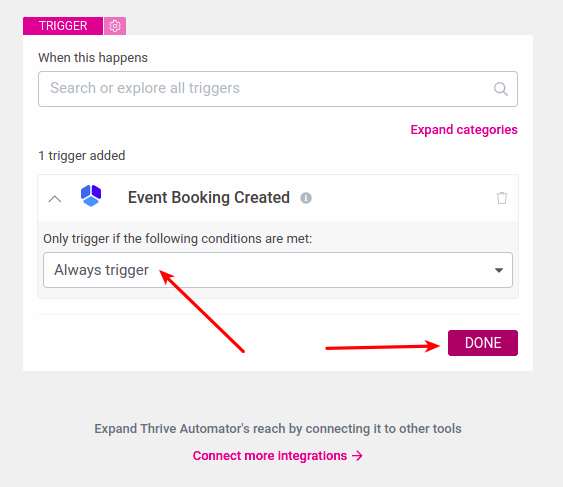
Once you choose a start trigger, you can also choose the conditions so that the automation runs only when the conditions are met. Click on the “Done” button once you have set up a trigger.
4. As a next action, choose the “Slack” category:
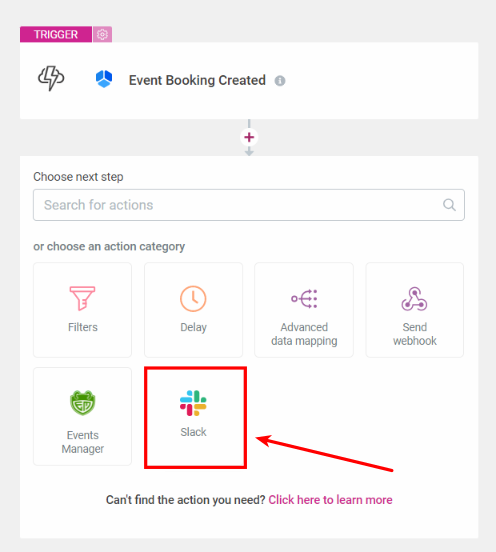
And choose “Send notification” category:
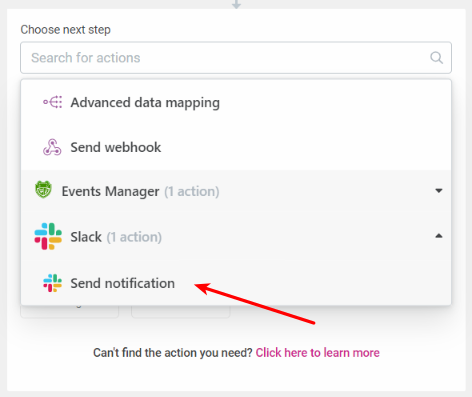
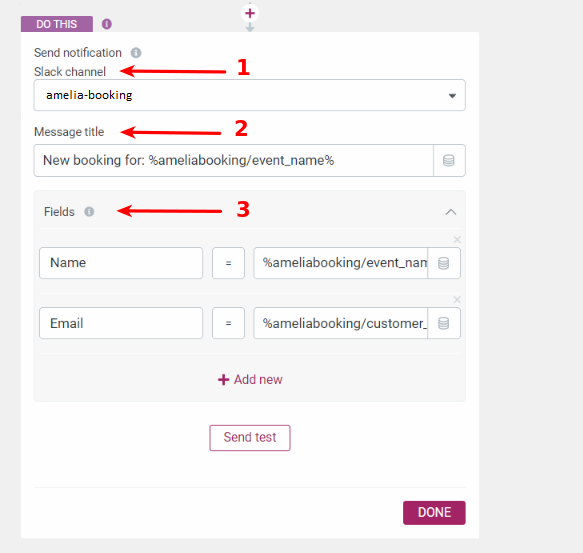
5. Then, set up a Slack notification according to your needs.
-
Slack channel – choose the channel to which the notifications will be sent.
-
Message title – add a title that best describes your notification. You can use dynamic information as is shown in the example above.
-
Fields – you can also add additional fields such as name or email using the dynamic information as well.
The “Send test” option allows to you to check if the information is passed correctly through the notification on Slack.
To complete the configuration of the automation, click on the “Done” button, and you are ready to go.
Once this is set up, you will receive your configured notifications on Slack.
