Integrating with WP Fusion lets you sync your Amelia appointment bookings with over 50 CRMs and marketing automation platforms. Plus, you can apply tags based on the services booked. This means you can easily create segments in your marketing lists and set up automations to follow up with customers before and after their appointments.
Configuring WP Fusion Integration in Amelia
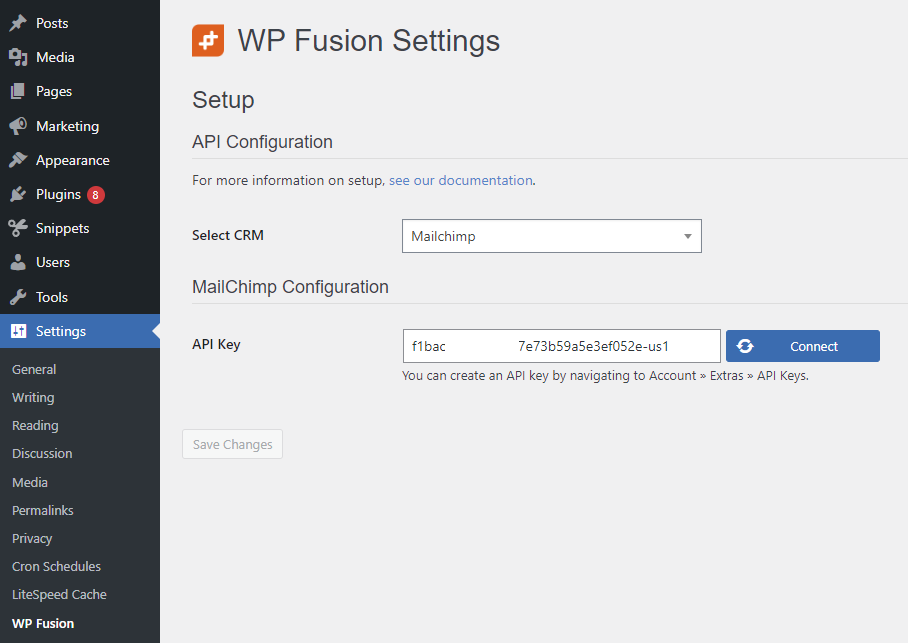
For this integration, you’ll need both the Amelia and WP Fusion plugins installed and activated on your WordPress site. Once you have both plugins ready, head to WordPress Settings -> WP Fusion and connect your CRM. In our example, we’re using MailChimp:

Once the connection is successfully established, you’ll see a notification below. Just click on “Save Changes” to proceed.
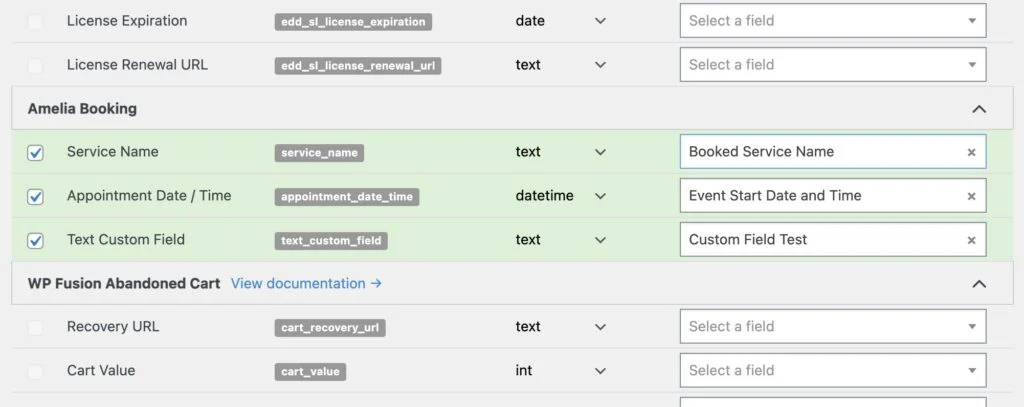
Now, navigate to the Contact Fields tab. Here, you’ll find the fields available for syncing from Amelia.

Available Fields for Syncing:
- Service Name: The service your customer booked, updated with each new booking.
- Appointment Date / Time: The specific date and time of the customer’s booking.
- Custom Fields: Any custom fields you’ve created in Amelia. (If you don’t have any custom fields created in Amelia, this field won’t appear in WP Fusion)
For each field, select a matching custom field in your connected CRM to enable syncing. When an appointment is booked, these enabled fields will automatically sync to the customer’s contact record in your CRM.
Tagging Customers
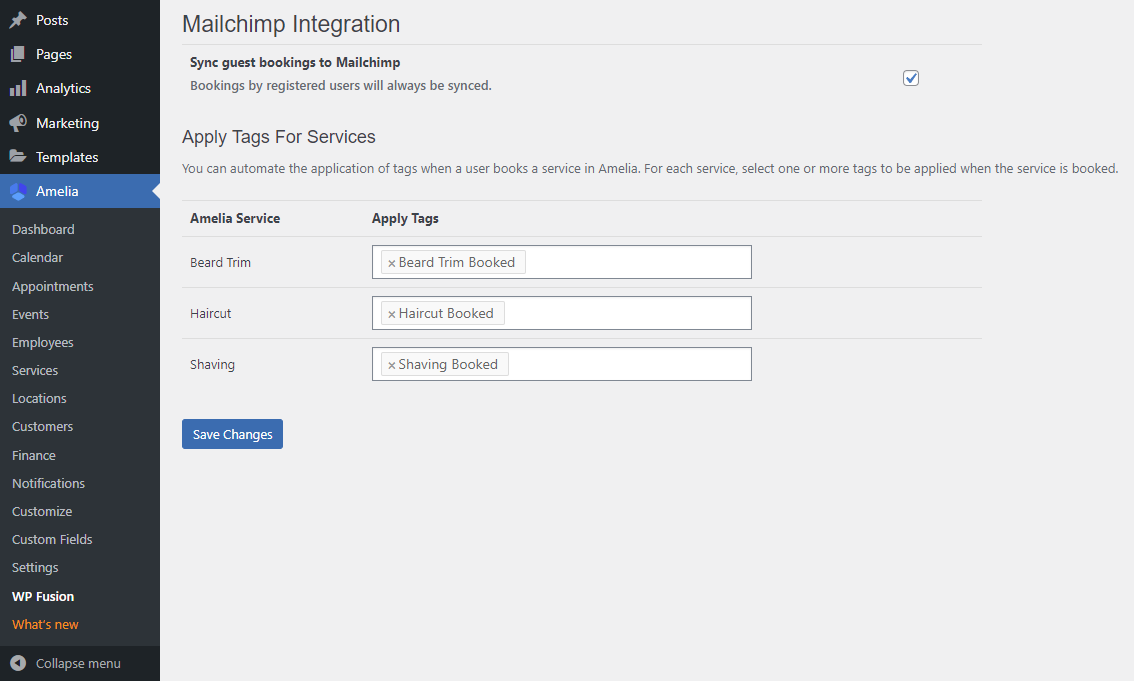
WP Fusion provides several settings for Amelia, which you can find in your WordPress admin under Amelia » WP Fusion.
- Sync Guests: This setting is enabled by default. Anyone who books an appointment via Amelia will have a contact record created (or updated) in your CRM. If you only want to sync appointment details for registered users, you can disable Sync Guests.
- Apply Tags for Services: For each service, you can select one or more tags to apply in your CRM when that service is booked.
