Webhooks are available in the Standard, Pro, and Elite license plans.

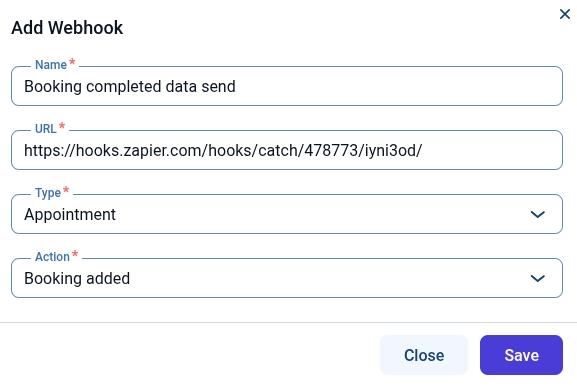
Each Webhook supports only one Type and one Action, so multiple Webhooks must be created when multiple triggers are required.
Webhooks are available in the Standard, Pro, and Elite license plans.
Each Webhook supports only one Type and one Action, so multiple Webhooks must be created when multiple triggers are required.