How to get started with services in Amelia
You can start taking bookings with Amelia in just a few minutes. This quick start guide walks you through the simplest setup: creating one employee, one service, and adding a booking form to your website.
How do I create my first employee?
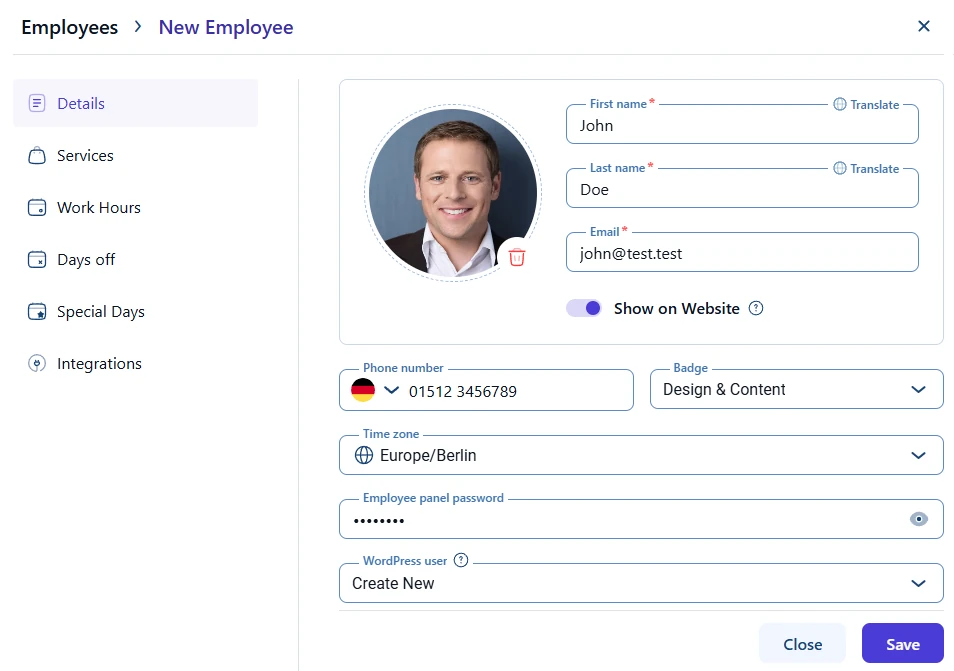
Each booking in Amelia links to an employee, so that’s your starting point. Head into Amelia → Employees and click + Employee. In the dialog that appears, enter the first name, last name, and email address. Without these details, you can’t save the employee.
Turn on the Show on website switch so this person appears in your booking forms. Otherwise, customers won’t be able to pick them when booking on the front end. You can also fill in optional fields such as a phone number, badge, location, or time zone (Amelia uses your WordPress time zone by default).
Each employee has their own working hours and availability. When you create an employee for the first time, default working hours are added automatically for Monday to Friday, from 09:00 to 17:00.
Since adding an employee is the first step in getting started with Amelia, there will not be any services assigned yet, so the schedule will not be bookable until services are created and linked to this employee. At this stage, you can either keep the default working hours or adjust them through the Work Hours tab on the left. You can also add days off and special days when the schedule needs to differ from the regular working hours. Learn more about configuring these options in the employee settings.
How do I create my first service?
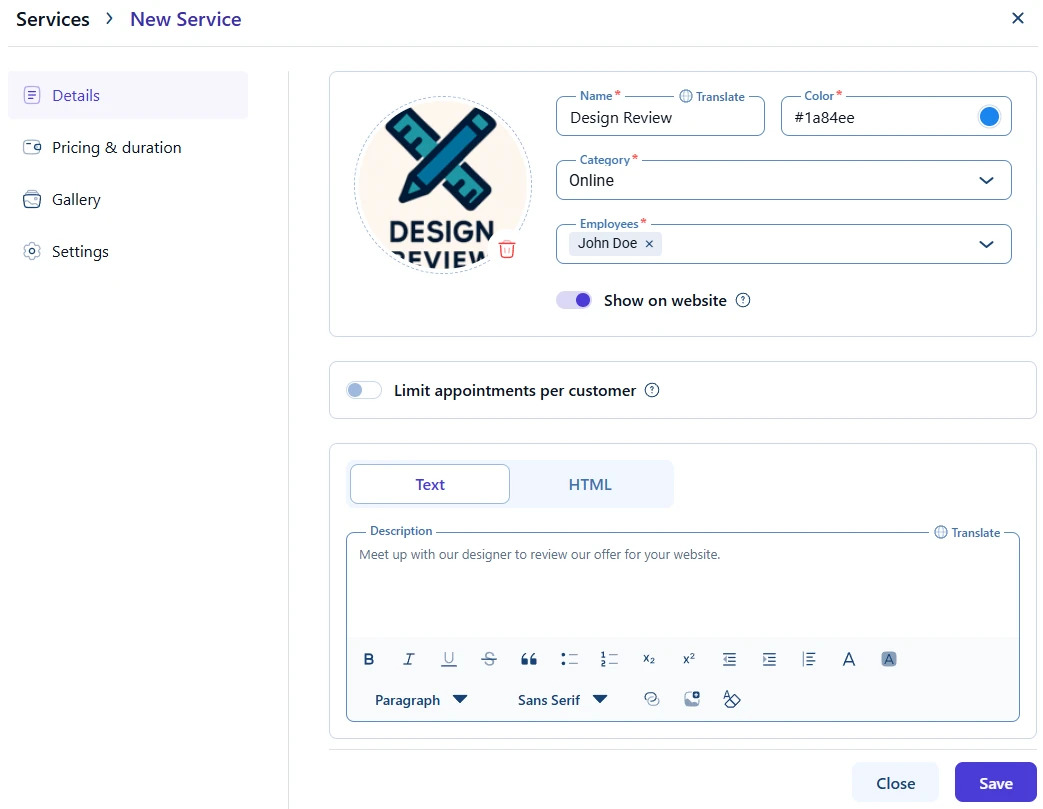
Once the employee is ready, head to Amelia → Catalog to set up a service – something your customers can book. First, add a category; after that, click Add Service within that category.
Enter the service name, choose a color, assign it to your new category, and select at least one employee. Turn on Show on website so the service appears on the booking form; if this option is disabled, customers won’t be able to book it.
Next, open the Pricing & Duration tab on the left and define the duration and price. These, along with Name, Category, and Employees, are mandatory fields. If the service is free, you can simply set the price to 0.
You can also personalize the setup by adding a short description or limiting how many appointments each customer can book. For more advanced adjustments such as pricing, capacity, and gallery images, see the service guide.
How do I add the booking form to my website?
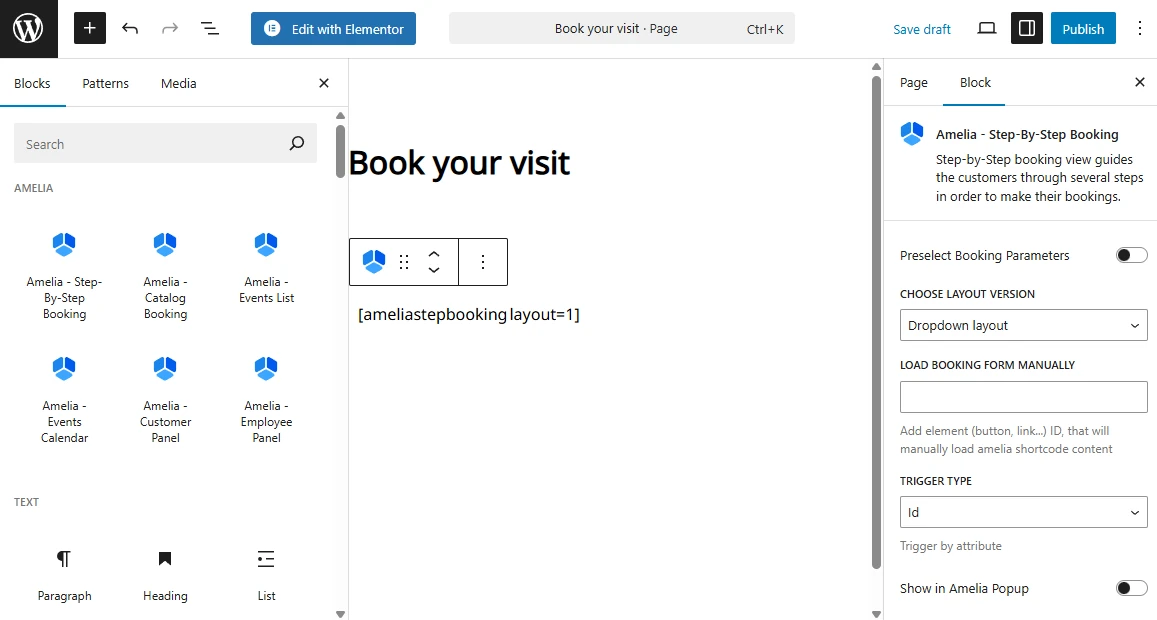
To let customers schedule appointments, you’ll need to add a booking form to your site. The quickest way is to use the Step-by-Step Booking Form.
Create a new page or post in WordPress and insert the booking form using one of the available methods:
- Add the Amelia block in Gutenberg.
- Use the Amelia widget in Elementor or Divi.
- Or simply paste the shortcode
[ameliastepbooking]into the editor.
Publish the page, and the booking form will appear on the front end. You can learn about all available form types in the Bookings section, starting with the Step-by-step booking form.
How do I test and manage my first booking?
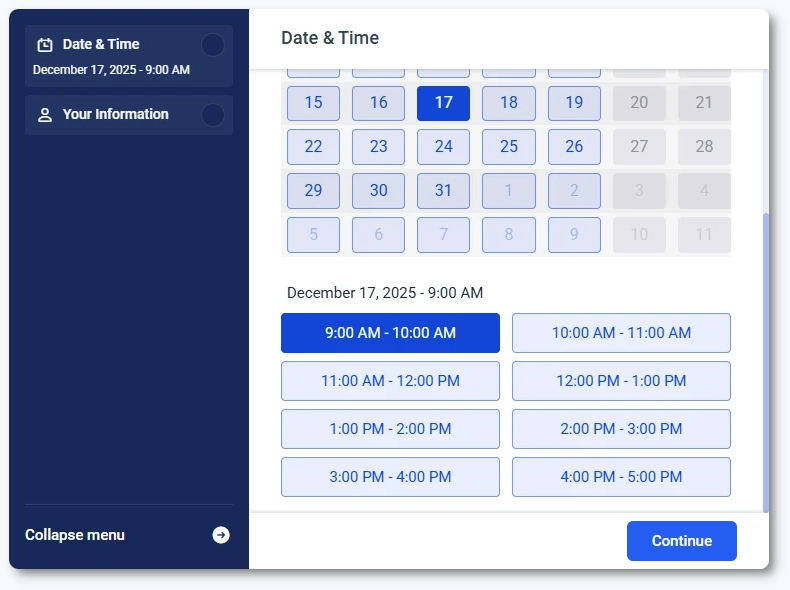
Open the page you’ve just published in incognito and follow the steps in the booking form – select your service (if you added many), pick a time slot, enter your details, and confirm. You’ve now made your first test appointment!
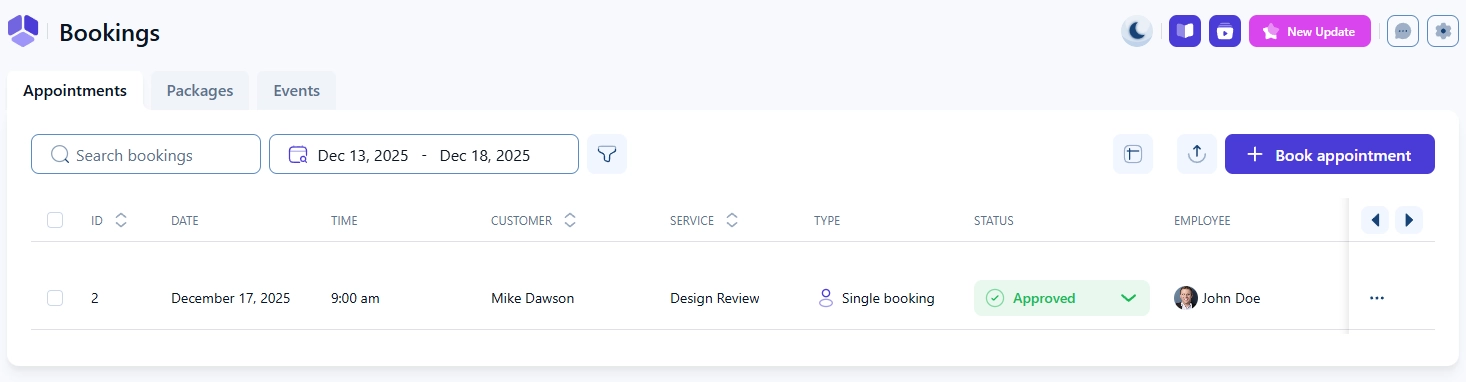
Back in your WordPress admin, open Amelia → Bookings → Appointments. You’ll see the booking you just created. From here, you can approve, edit, or cancel it directly. Later, you’ll also be able to manage payments, notifications, and other details.
Booking form
Appointment list
At this point, you’ve completed the minimum setup required for Amelia to work. You can now add more services, play around with settings, customize your booking form, and continue exploring features like notifications, payments, and integrations to expand your workflow.