Social login options in Amelia allow customers and employees to log in or autofill their personal information using their existing Google or Facebook accounts. This simplifies the booking process, improves user experience, and helps avoid manual data entry errors.
Why Is Social Login Useful?
Whether you’re managing a spa, a fitness center, or a consulting business, allowing your users to log in with their existing Google or Facebook accounts offers several key benefits:
✔ Faster and easier booking – no need to type in name and email manually
✔ Fewer typos and invalid data in the system
✔ Seamless access to Customer and Employee Panels
✔ Encourages users to complete bookings by reducing friction
Setting Up Google Login
Google Login allows users to:
-
Autofill their name and email in the booking form
-
Log in directly to the Customer or Employee Panel
Enable Google Login in Amelia
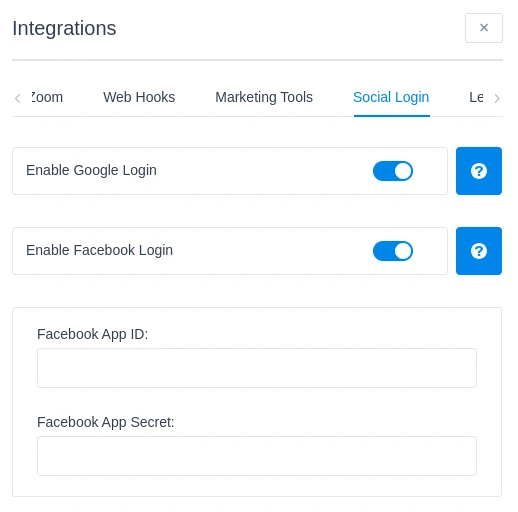
Go to Amelia → Settings → Integrations → Social Login
Enable the Google Login toggle and click Save.
This activates the Google login functionality on booking forms and panels.
After enabling this option, proceed with setting up Google credentials.

Then get the Google Client ID and Secret
You’ll need credentials from your Google Cloud Console.
Follow the same process as outlined in the Google Calendar integration documentation.
👉 See: How to configure Google Calendar
And add Authorized JavaScript Origins
In the Google Cloud Console:
-
Navigate to Credentials → select your OAuth 2.0 Client
-
Scroll to Authorized JavaScript origins
-
Add your website domain (e.g.,
https://yourwebsite.com)
This is required to avoid browser security errors during login.
Setting Up Facebook Login
Facebook Login supports both autofill during booking and panel login, but setup involves more steps.
📌 Note: You must have a verified Meta Developer account. For detailed instructions, refer to official Meta documentation.
Create a Meta Developer Account
Visit Meta for Developers and sign in or create an account.
And create a New App
-
Go to My Apps → Create App
-
Select the app type and provide required details
Then choose a Use Case
Select:
☑ Authenticate and request data from users with Facebook Login → click Customize
After that configure OAuth Settings
In the App Dashboard:
-
Go to Use Cases → Customize → Facebook Login → Settings
Enable the following:
✅ Client OAuth Login
✅ Web OAuth Login
Add these:
-
Valid OAuth Redirect URIs:
https://yourwebsite.com/ -
Allowed Domains for JavaScript SDK: Your exact domain
And request Permissions
Navigate to Permissions and Features, then request access to:
-
email -
public_profile
Then you will need to verify Your Business
Upload documents as required to complete Meta’s business verification process.
And submit for Review
Once configuration is complete, submit your app for review and approval.
After that retrieve App ID and Secret
In your Meta Developer Dashboard:
Go to App → Settings → Basic
Copy the:
-
App ID
-
App Secret
And enable Facebook Login in Amelia
In WordPress Admin:
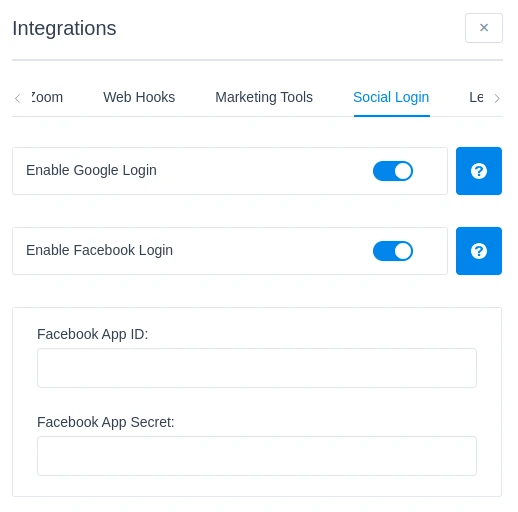
Go to Amelia → Settings → Integrations → Social Login
Enable the Facebook Login toggle
Paste your App ID and App Secret
Click Save

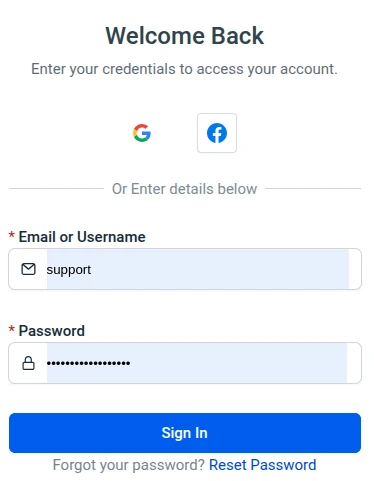
Once Google and/or Facebook Login is enabled and properly configured, users will see the corresponding login buttons directly on:
-
Customer Panel login
-
Employee Panel login
The buttons are styled according to Google and Facebook branding guidelines and look like this:
