Booking-related Custom Fields let you collect additional details from customers for specific appointments or events.
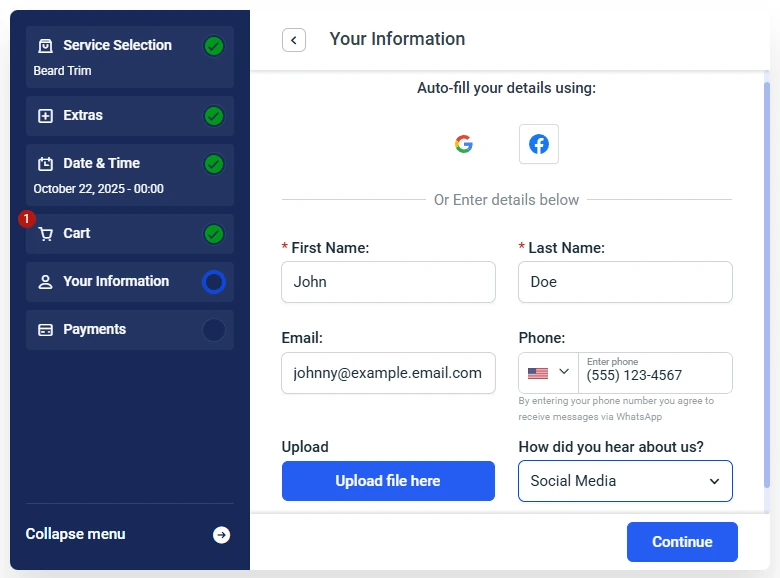
They appear directly on the booking form, under the default fields, and the data your customers provide is saved within that specific booking.
How do I access the Custom Fields settings?
You can manage all Custom Fields from Amelia → Custom Fields in your WordPress dashboard.
When you open this section, you’ll automatically land on the Bookings tab — this is where booking-related Custom Fields are created and managed.
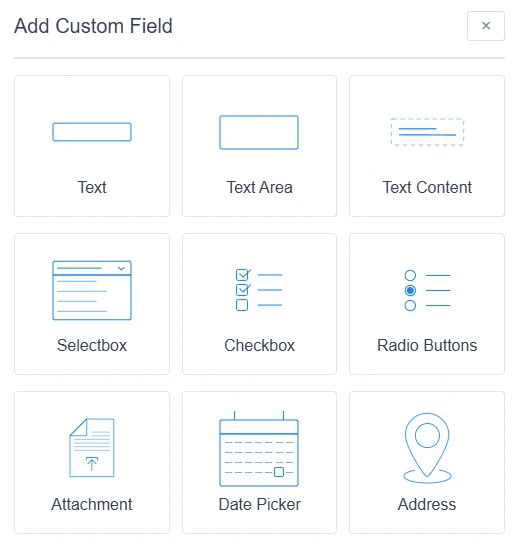
From there, click “Add Custom Field” (or the + icon in the lower-right corner) to create a new field.

What field types can I add?
Amelia supports several field types to help you collect the exact kind of data you need:
-
Text – for short, single-line responses.
-
Text Area – for longer, multi-line messages or notes.
-
Text Content – a static block of text you can style with HTML (useful for adding instructions or terms).
-
Selectbox – a dropdown with predefined options.
-
Checkbox – lets users select one or multiple options.
-
Radio Buttons – for choosing one option from a list.
-
Attachment – allows customers to upload files (supported types:
.jpg,.jpeg,.png,.pdf,.xls,.txt,.csv). -
Date Picker – for choosing a specific date.
-
Address – automatically fills in address details when a Google Maps API key (listed as Maps Embed API in Google Cloud Console) is added under Settings → General in Amelia.
How do I configure each Custom Field?
Once you add a field, several configuration options will appear:
-
Label – The name of the field (e.g., “Your child’s age” or “Preferred trainer”).
-
Required – When enabled, the field must be filled before completing the booking.
-
Services / Events – Choose whether the field appears for all or specific services/events.
-
To automatically include newly created services or events, select All Services or All Events.
-
-
Ordering – Reorder fields to match the flow you want customers to follow.
-
Translate – Add translations for all configured languages.
What does the “Send custom fields info for each customer separately” option do?
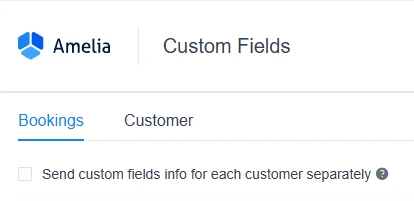
Above the list of booking-related Custom Fields, you’ll see a checkbox labeled “Send custom fields info for each customer separately.”
Enable this option if you want your employees to receive only the latest customer’s custom field data when a group booking occurs.
If this option is disabled, and you’ve added custom field placeholders in email notifications, employees will receive all customers’ field data for that booking in the same notification.
How do I delete or reorder Custom Fields?
-
Reorder fields: Drag fields up or down using the handles beside each one.
-
Delete fields: Click the trash can icon next to the field you want to remove.
How do I preview the fields on my booking form?
After saving your changes, refresh your front-end booking page.
Your new Custom Fields will appear below the default customer details section — but only once you reach the step where customer information is entered.
Depending on your booking setup, you may need to go through the entire booking process (selecting the service, employee, location, date, and time) before reaching the customer information step that displays the custom fields.
You can see an example of how this looks in the image at the top of this article.
Where can I see the data customers enter in Custom Fields?
After your customers fill in the fields and complete their booking, the information is stored in the related appointment or event record.
You can view and manage this data in several ways:
From the Appointments list
Click on an appointment in the Appointments page to expand it.
The additional information from custom fields will appear below the standard booking details.

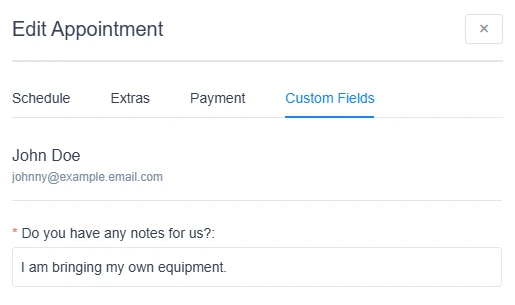
In the Edit Appointment dialog
Open the appointment and navigate to the Custom Fields tab.
Here you can view or manually edit the submitted data, for example if a customer requests changes.
From the Events page
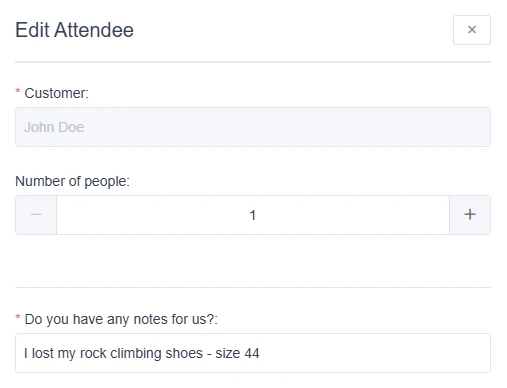
Go to the Events page, open the Attendees list, click on an attendee, and select Edit attendee.
The attendee details — including all custom field data — will appear in the dialog.
Next step: Learn how to set up Customer Custom Fields →