Selecting the “Connect to your personal Apple Calendar” option will open a new modal where you can enter your Apple account credentials to sync the employee’s personal Apple Calendar with Amelia.
Configure the App-Specific Password in your Apple account
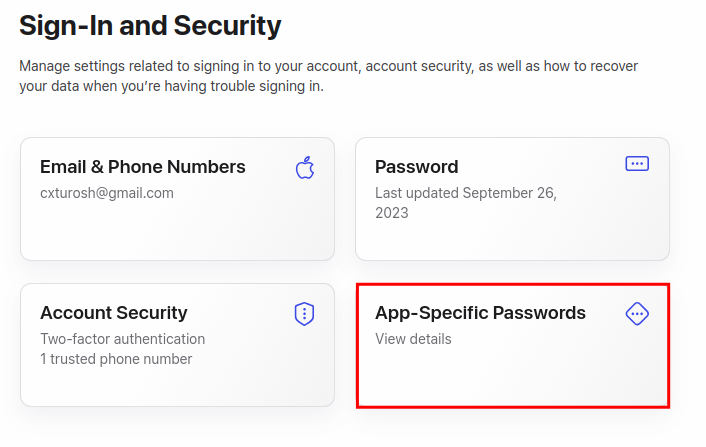
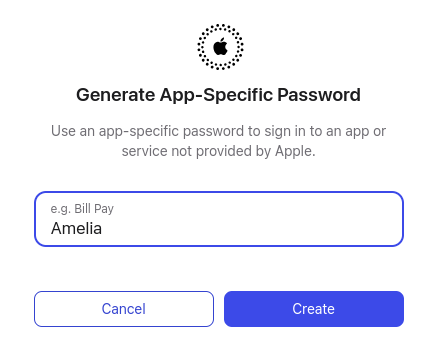
Before enabling Apple Calendar integration in Amelia, you must have two-factor authentication (2FA) set up on your Apple account, along with an App-Specific Password.
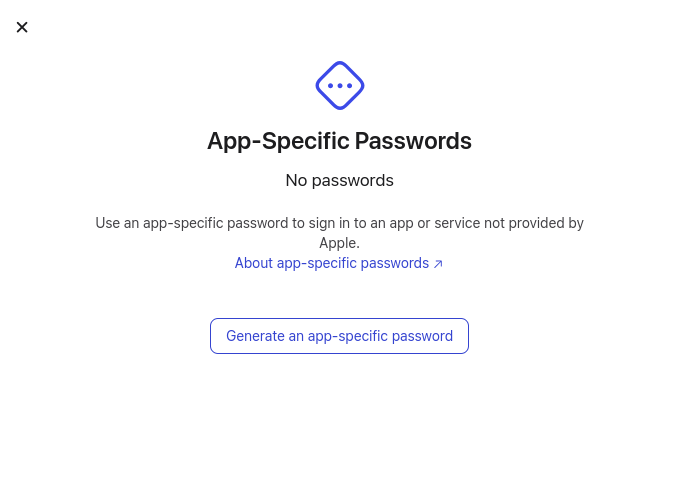
You’ll see a popup where you’ll need to click on “Generate an app-specific password“:

Below the two aforementioned options, you will find more options which we will go through one by one.
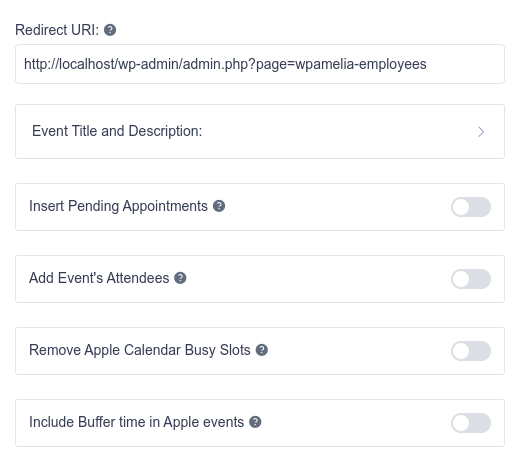
- Redirect URI: This URI is automatically generated in Amelia and indicates the page where the Apple Calendar Integration is done.
- Event Title and Description: This setting defines the title and description for events created in Apple Calendar from bookings made in Amelia. The information provided here will be reflected as the event’s title and description in your Apple Calendar.
- Insert Pending Appointments: When enabled, this option ensures that pending bookings in Amelia are also transferred to Apple Calendar, even if they haven’t been confirmed yet.
- Add Event’s Attendees: Enable this option if you want employees to see the customers who are attending the appointment within the event in Apple Calendar. This helps keep track of the attendees directly from the calendar.
Remove Apple Calendar Busy Slots: When enabled, this option will remove busy slots in Apple Calendar from the employee’s working schedule, ensuring that those slots are not available for future bookings.- Include Buffer Time in Apple Events: If this option is disabled, the buffer time set for scheduled appointments in Amelia will not be added to the events in Apple Calendar. This means only the actual appointment time will be displayed, without the additional buffer time before or after the event.
Connecting Employees to Apple Calendar
After saving changes to the Amelia > Settings > Integrations > Apple Calendar page, you will need to navigate to the Amelia > Employees page and choose an employee you want to connect to Apple Calendar to and choose which calendar to connect that employee to.
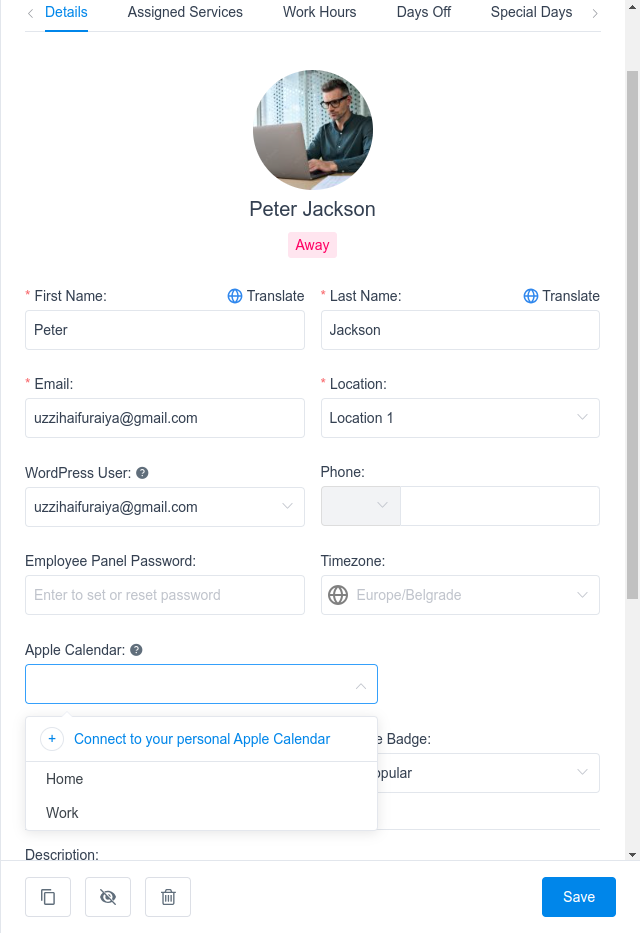
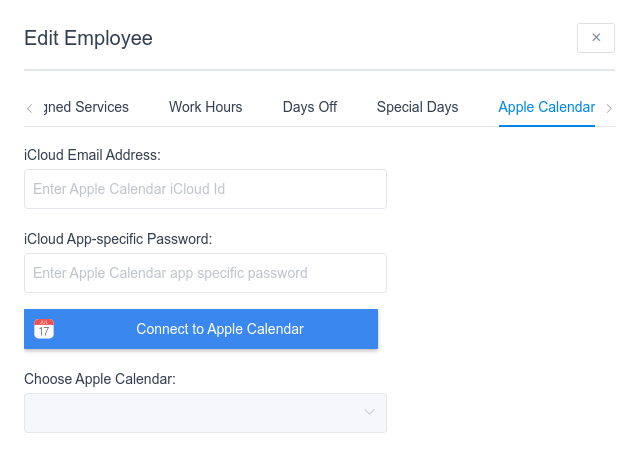
Once an employee has successfully been connected to an Apple Calendar, the “Disconnect from Apple” button will appear, which allows you to disconnect an employee from the connected calendar in a matter of seconds.

Connecting Employee to Apple Calendar through Employee Panel
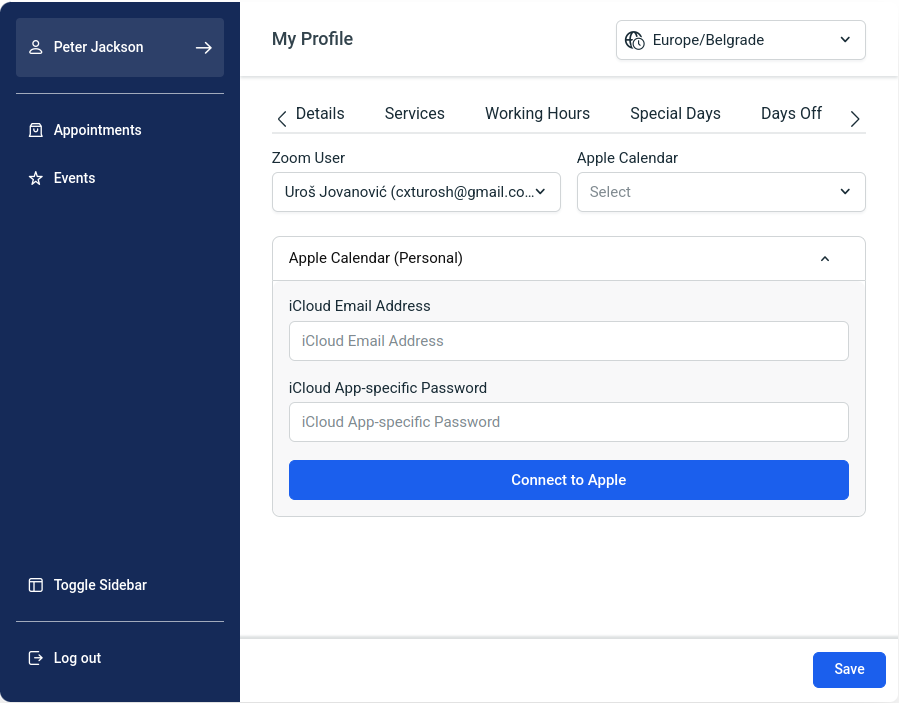
Along with connecting employees to Apple Calendar through back-end, employees can connect to it themselves through an employee panel. After logging into the employee panel, the employee will need to navigate to My profile > Integrations page, where they can choose the Apple Calendar to connect to.
Time Zones
The calendar automatically detects your time zone when you create an event, which can be helpful but may sometimes cause confusion.
For example, suppose you travel from Los Angeles to New York for a business trip. While in New York, you schedule a meeting with your home office in LA for noon on Friday. However, when you return home, you notice the meeting is not scheduled for noon. This happens because you initially set the meeting while in the Eastern Time Zone, so your calendar likely lists it as 3 p.m. To fix this, simply adjust the event’s time.
To avoid such issues, open the Calendar dropdown and select Preferences. In the Advanced tab, ensure that Time Zone Support is enabled. With this feature activated, when you set an event, you’ll see a Time Zone option below the end time. You can choose the time zone where the event will take place or select Floating, which prevents the event from shifting when you change time zones. This is especially useful for frequent travelers.