The global pandemic has made businesses shift their operations online. This means that they now have to host meetings and events online and accept online payments.
Physical, in-person events will start again but online events are here to stay.
So businesses need to know how to adapt to these new circumstances. They need to be able to receive payments for their online events.
They also need to provide customizable event registrations and payment methods. This will allow attendees to register and pay for an event quickly.
Many collect money for an event by putting a registration form on an event landing page. Attendees input their information, add their billing details, and then make payments.
Businesses that charge an event entrance fee or sell items often use PayPal. Premier or Business PayPal accounts let registrants pay for tickets through PayPal.
How can businesses set up a PayPal account to collect money from events?
This article shows how to do it. It also explains why using PayPal for event registration is the best way to go.
Why Businesses are Using PayPal for Event Registration
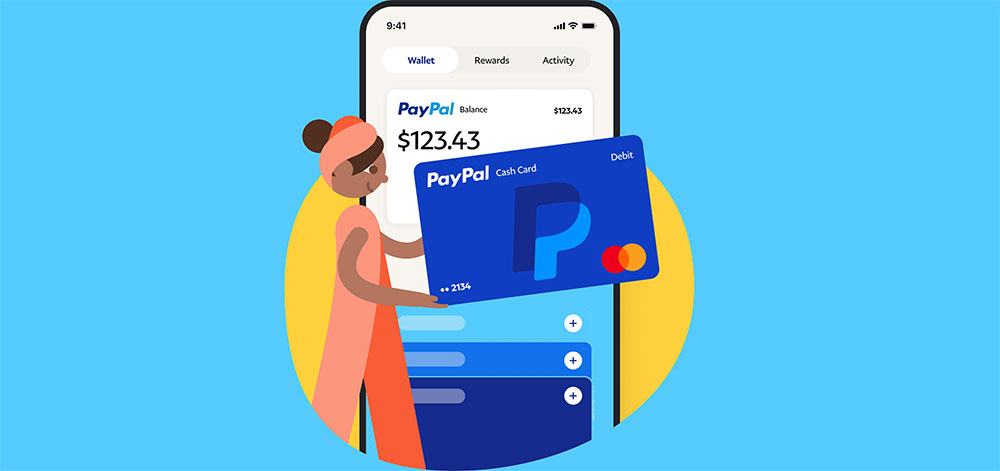
PayPal is an online payment system. Users can send money transfers to individuals and businesses.
It is considered to be a highly secure payment gateway. It is also available in many countries worldwide.
Many event organizers like PayPal because it is flexible. It accepts credit cards, debit cards, or PayPal balance payments.
Thus, event organizers can create an event registration form offering several payment method options.
Using PayPal for Event Registration
Businesses need to have a PayPal business account for event registration payments. Go to PayPal and sign up for a business account.
Those who already have a personal account can upgrade it to a business account.
Keep in mind that there will be some fees when using PayPal for event registration. There are fees for various services, but this is not unlike other payment gateways.
In the United States, money processing fees per transaction total about 3%. Stripe and PayPal have an average processing rate of 2.9% plus about 30 cents per transaction.
Check the PayPal fees page for a better understanding of their processing fees.
Using PayPal for Event Registration with Amelia
First of all, what’s Amelia and why should you care?
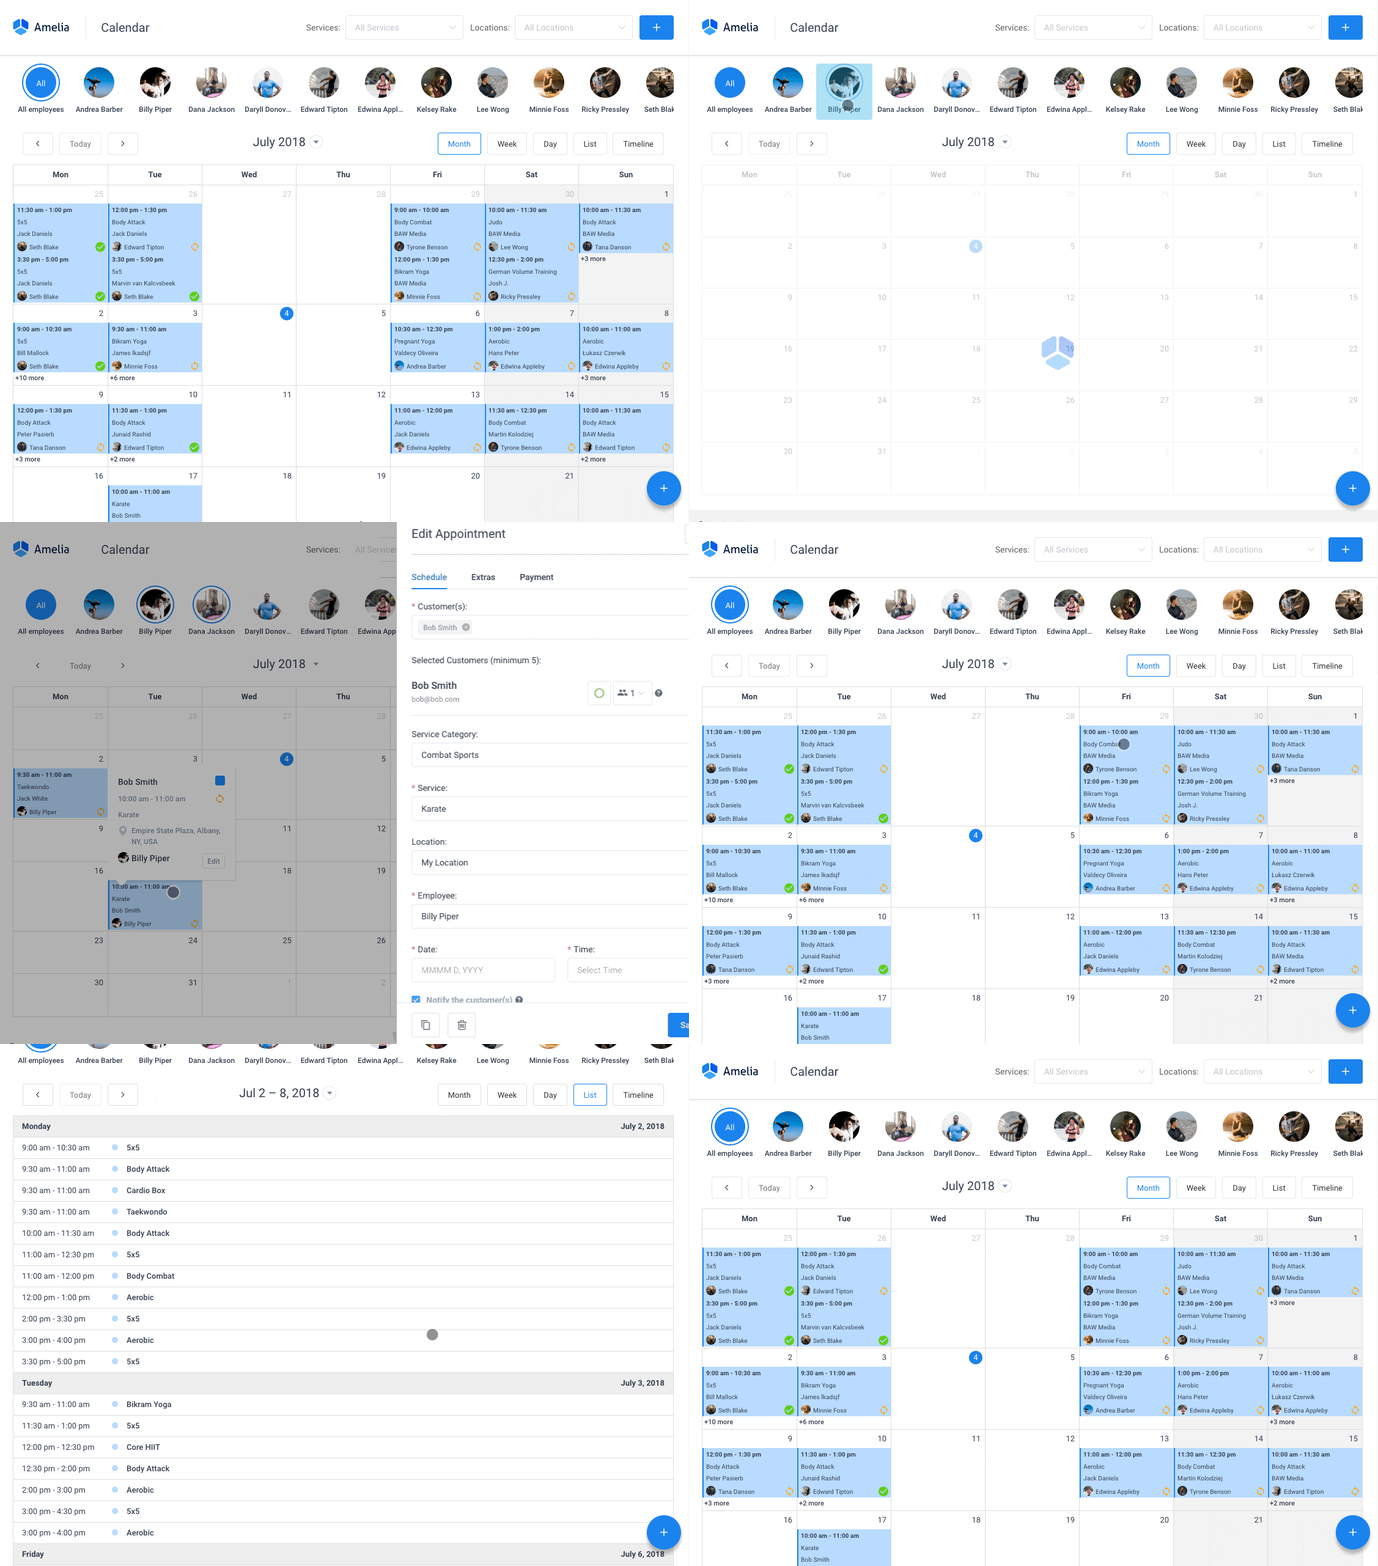
Amelia is a powerful WordPress booking plugin that works flawlessly with WordPress sites of all kinds. It has a minimal, yet powerful appointment booking interface designed to ease your workflow, automate repetitive tasks, avoid double booking, and make appointment booking a breeze for your customers.
You can even have email notifications and SMS notifications so that nobody forgets about their appointment bookings.
In order to book an appointment, the complete user interaction takes a few clicks with this WordPress plugin. Moreover, with it you can accept payments via PayPal and Stripe, perfect for those who want to pay in advance to book appointments.
As a business owner, you can monitor KPIs in the WordPress dashboard and analyze other important data to keep a pulse on your business. Amelia is a straightforward, no-nonsense booking calendar plugin and an amazing option for those who want an around-the-clock solution for their WordPress site.
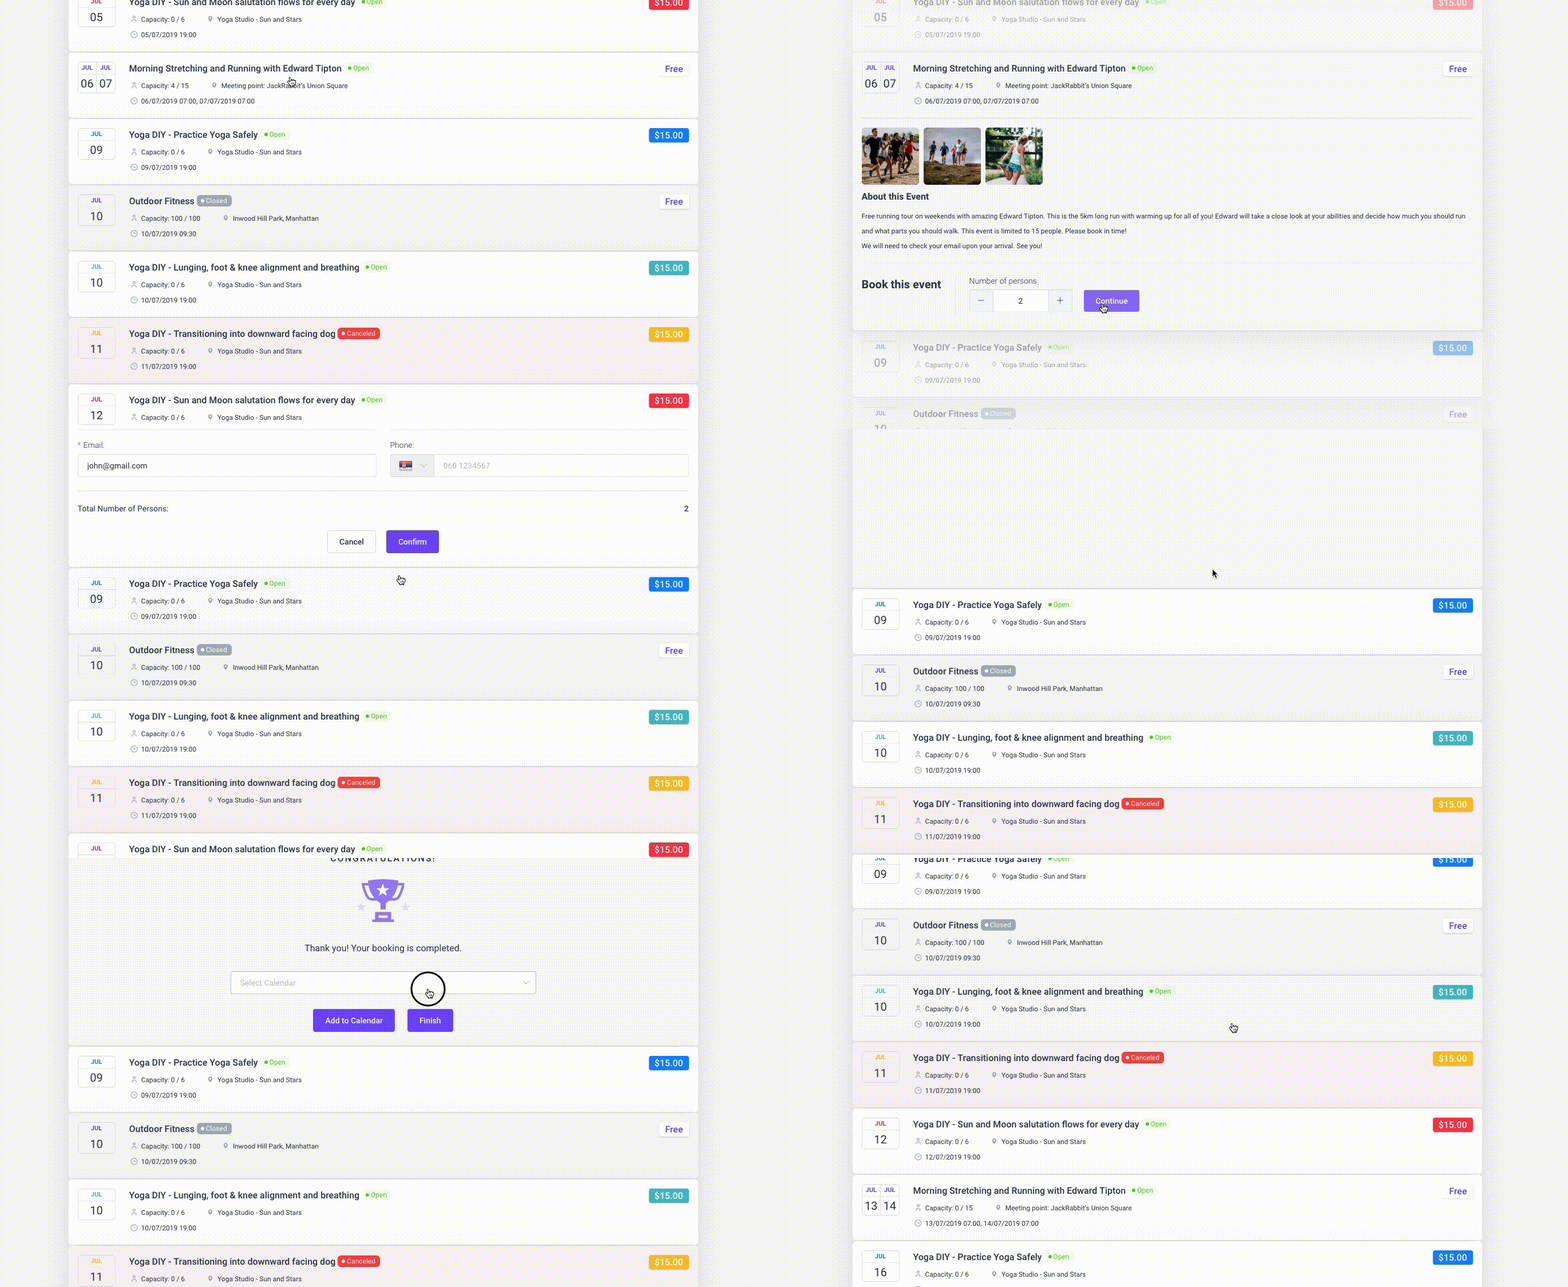
Amelia also has an Events Calendar module integrated within its features.
You can now automate your event bookings as well. To be more precise, it means that you will be able to schedule a single day, a multi-day, and also recurring events with Amelia.
Did we mention that you can manage multiple locations and that you have Google Calendar integration?
All of these and much more are under only one license, no add-ons are needed.
To test things for yourself, I’d suggest checking out the demos and seeing how things look on the front end as well as in the back end.
What’s important for you is that Amelia allows users to integrate PayPal into an online registration form. So users can accept payments at the time of a booking.
Integrating PayPal is quite simple.
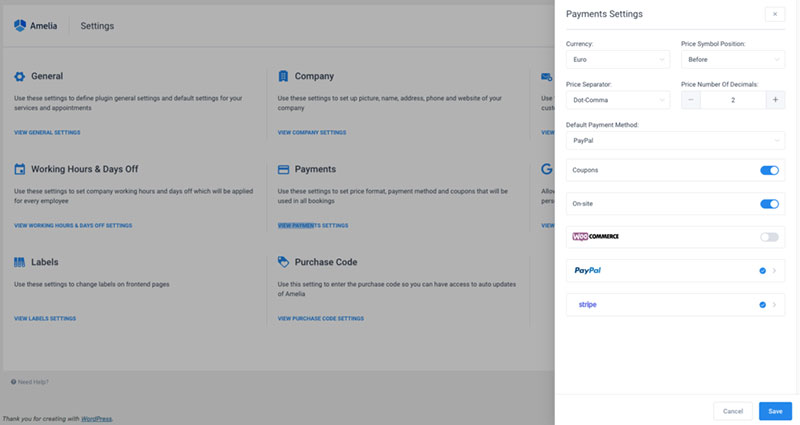
From Amelia, click on the Settings tab. Then click on the Payment settings link.
The payment settings allow users to choose which payment gateway they want to use.
It also allows them to choose the price format. The price format will be the same for the front-end and the back-end.
Payment Settings
Price Symbol Position
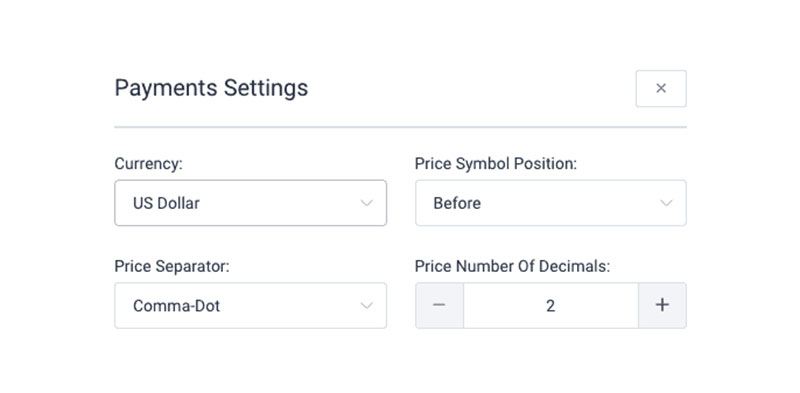
Under the payment settings, users can choose where a price symbol appears. There are four price symbol position options.
The price symbol can appear:
- After the value
- After the value and separated with a space
- Before the value
- Before the value and separated with a space
Now users can select the payment gateway they want to use. Select PayPal to use their services.
PayPal
To use PayPal’s services on your registration form, simply enable PayPal service. Next, choose between the options Live mode or Sandbox mode.
Live Mode
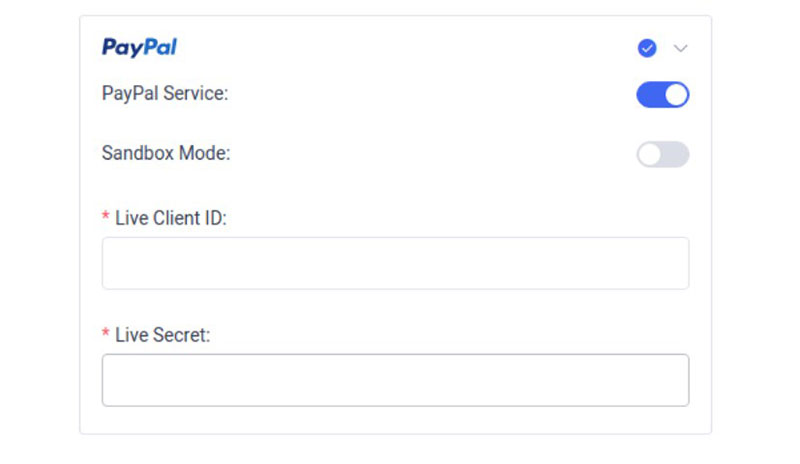
Live mode means that the PayPal account is active. Any transactions will go to financial institutions for processing and real money transferred.
To use Live mode, copy the Live Client ID and Live Secret from PayPal. Paste them under PayPal in the Payment settings on the Amelia plugin.
Sandbox Mode
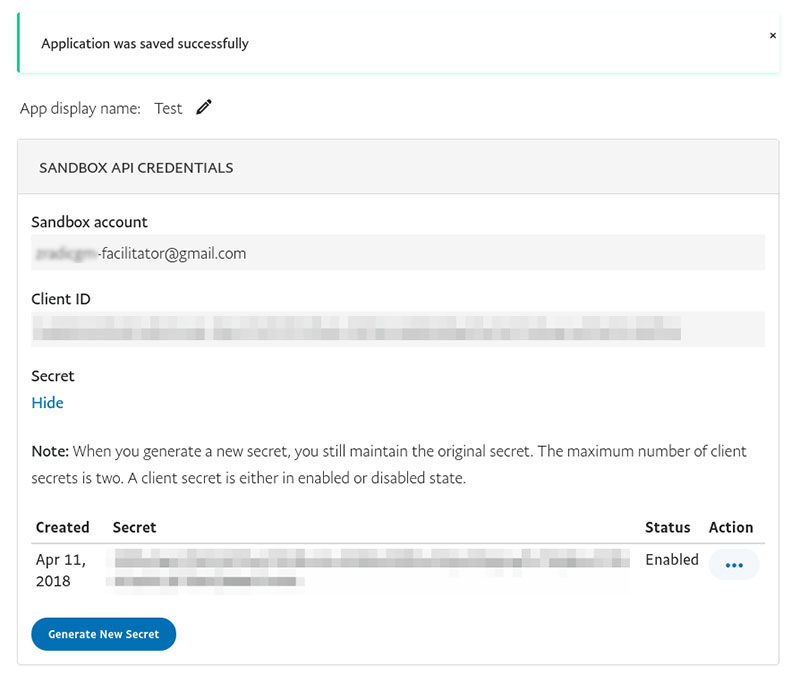
Sandbox mode allows users to test the app before making it a live PayPal account. Users should only use Sandbox mode for testing purposes before activating the app.
To set up PayPal Sandbox settings follow these instructions:
- Go to https://developer.paypal.com/developer/accountStatus/
- Log in to the PayPal account
- Under the Dashboard menu on the left, click on My Apps & Credentials
- Under the REST API apps section, use the default app or create a new one
- Then, copy the data from the Client ID field and the Secret field from your PayPal account
- Paste it into the Sandbox PayPal payment settings on the Amelia settings page
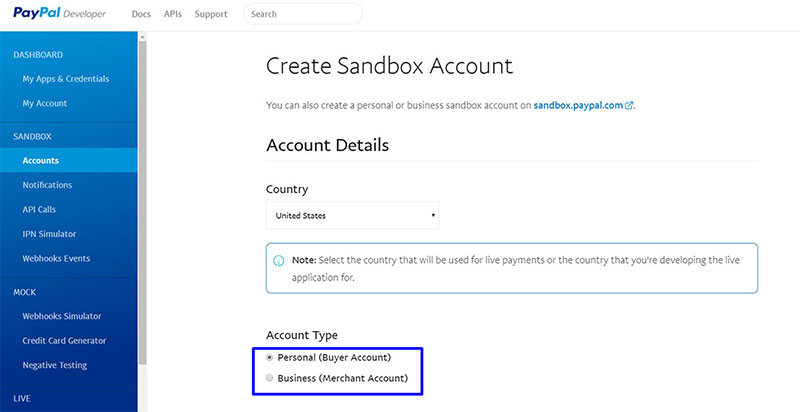
Next, test the application and mimic live transactions. To do this, follow the steps below.
- In the PayPal dashboard, click on Accounts under Sandbox
- Click on Create Account
- PayPal will create accounts for users to test the application

- Users can use emails and passwords from Sandbox developer accounts to create PayPal accounts. Then use this link to test PayPal in the Amelia plugin.
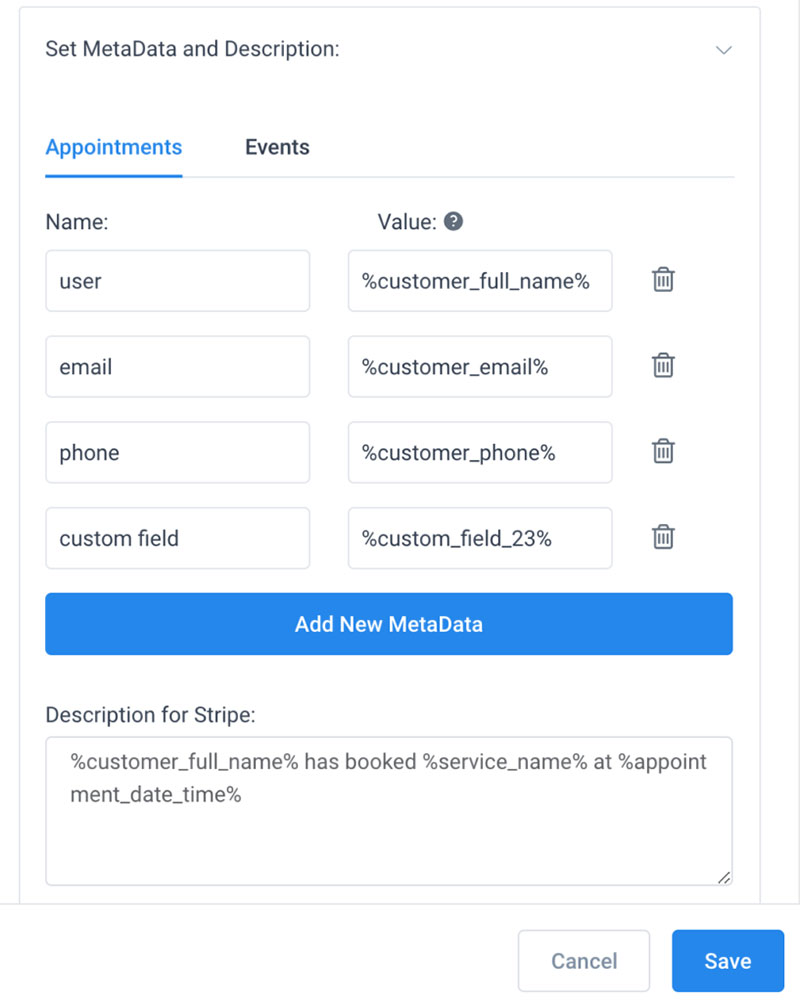
After enabling PayPal, a new option appears that says Set MetaData and Description. Here, users can set a description for PayPal payments.
They can set a different descriptions for appointments and events.
This description will show on the PayPal side. So users will know the details of the customer that made the appointment.
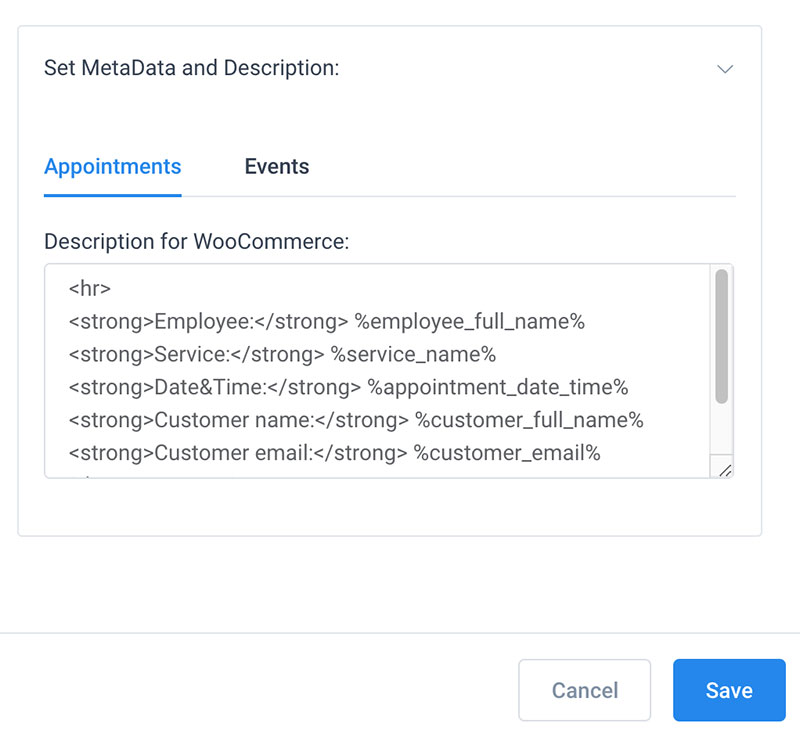
Users can use placeholders from email notifications to set the description. This way the plugin can send different customer data each time.
Users can also add placeholders for appointment details.
Setting Up Different Payment Methods
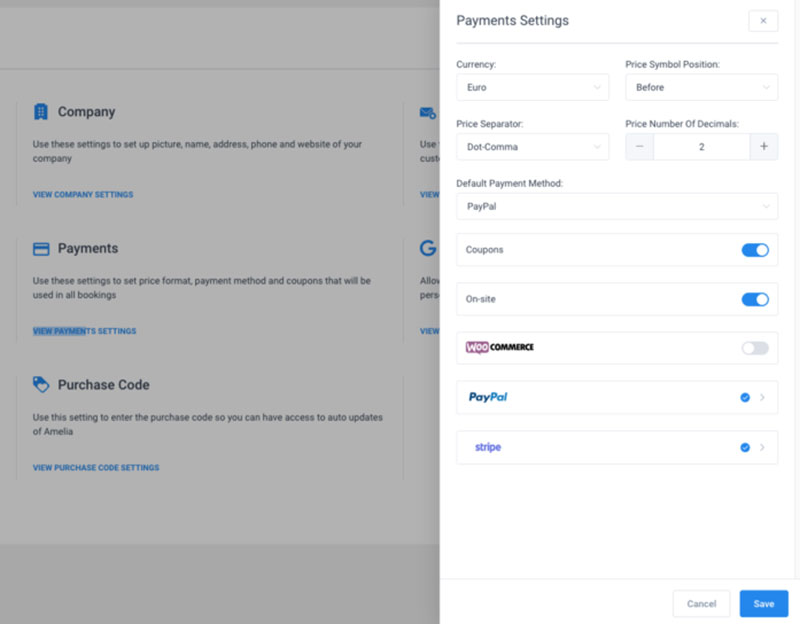
Amelia also integrates with other payment methods. Users can even set up different payment methods for different services.
For instance, one service could require onsite booking. Another service could request payment during the booking process.
To set up different payment methods follow these instructions:
- First, go to the Payment settings page on Amelia
- Enable all the desired payment methods
- Next, go to the Services page

- Open a service and click on the settings tab
- Then, enable the chosen payment method for that service
- Click save
That is it!
Amelia makes it easy to add advanced payment systems to a WordPress website. Other plugins usually make it a little more complicated.
Amelia makes advanced features easy to use with its understandable interface.
If you enjoyed reading this article on using PayPal for event registration, you should check out this one with event WordPress themes.
We also wrote about a few related subjects like event registration software, event websites, event booking systems, fitness event ideas, and event planning resources.
Not only that, but we also created articles with event scheduling software, event registration landing pages, and how to make money hosting events.
