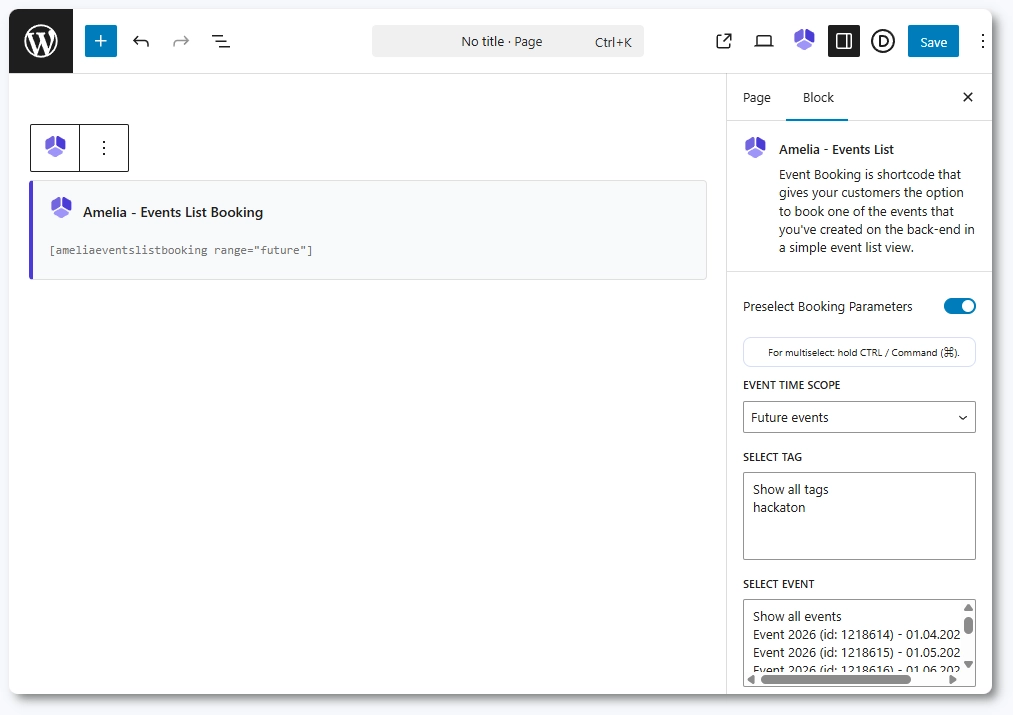
How does the events list booking form work in Amelia
The events list booking form allows customers to browse upcoming events, filter them by tags, locations, or dates, and book directly from an event details popup. It is added to your site using Amelia’s blocks or shortcodes and automatically adapts based on how your events are configured.
How do I add the event list form to my website?
You can add the events list booking form using Gutenberg, Elementor, or Divi. Expanding the Preselect Booking Parameters in the block allows you to select the event by ID, the tag (if you created it), and the location. Also, if you’re using Amelia popup, you need to add the trigger in the Load booking form manually, choose the trigger type, and enable the Show in Amelia Popup slider.
If your builder doesn’t include Amelia widgets, you can add the shortcode manually.
[ameliaeventslistbooking] loads the full events list.
[ameliaeventslistbooking event=1] shows only the event with ID 1.
[ameliaeventslistbooking event=1 recurring=1] shows the event with ID 1 including its recurring dates.
[ameliaeventslistbooking tag='seo'] shows all events with the “seo” tag.
Place the shortcode on any page and publish it. You can find all Amelia shortcodes on the Amelia shortcodes page.
How do customers browse events in the list view?
When customers open the page, they see a list of all upcoming events available for booking. The interface includes search and filter options so they can quickly find the right event.
Available filters depend on your setup and may include:
Event tags
Locations
Start date
Each event card shows its title, a short summary, scheduled dates, and a “Read more” button that opens the event details popup.
What information appears in the event details popup?
Clicking Read more opens a popup with optionally two tabs that depend on your event configuration.
Event info displays:
Event date range and schedule
All exact dates and times for multi-day events
The event description
Organizer and staff details
Tickets displays available ticket types and their prices (if enabled and configured). For details about creating tickets, visit the event ticketing documentation.
How do customers book an event?
From the event details popup, customers click the Book event button. If the event allows booking for multiple attendees, a popup will first ask how many seats they want to reserve.
If the event includes tickets, the next step displays all ticket types so the attendee can select quantities before continuing.
After selecting tickets or attendee count, customers move through:
Your information
The payment step (if payments are enabled)
Available payment methods depend on what’s enabled in Settings → Payments, including on-site, PayPal, Stripe, Mollie, RazorPay, Barion, Square, or WooCommerce.
What happens after the event is booked?
Once customers enter their details and fill out any potential Custom fields, they’re redirected to the payment screen (unless the event is free, in which case the payment step is skipped).
After completing the booking, customers see a confirmation screen showing the event details and their attendee information. They can add the event to their Google, Outlook, Yahoo, or Apple Calendar.
If you configured the Customer Panel, a link to it also appears on the confirmation screen.
Clicking Finish completes the process and refreshes the page unless you configured a custom redirect URL in the event’s settings.
Note
The Add to Calendar options retrieve all event details and forward it to calendar the user selected in order to propose a Calendar event creation.
This action is not generated by the Google/Outlook/Apple Calendar integrations. It can be used without enabling these features.
What didn’t we include here and why?
To keep this page focused and easier to navigate, we excluded the full explanations for several event-related features. These topics are covered in their own dedicated articles: