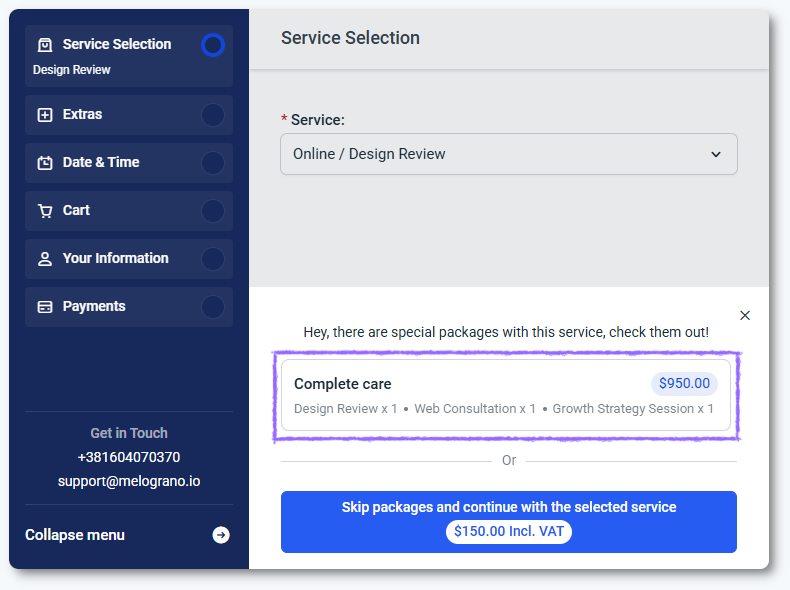
Limited time discount Book Smarter This Christmas
Up to 50%Off

How does the step-by-step booking form work

The Step-by-step booking form guides customers through choosing a service, selecting a time, entering their details, and completing payment. It adapts automatically based on service availability, assigned employees, locations, and enabled Amelia features.

You can place the form anywhere on your website using builder widgets or shortcodes.

How do I add the step-by-step form to a page?

You can add this form using Gutenberg, Elementor, or Divi widgets, or by inserting the [ameliastepbooking] shortcode on any page. Shortcodes can also be filtered so the form only shows specific categories, services, employees, packages, or locations.

Examples:

  • [ameliastepbooking category=3] – shows services in category ID 3.
  • [ameliastepbooking service=5] – shows service ID 5 only.
  • [ameliastepbooking employee=2 location=1] – filters the form to an employee and location.
  • [ameliastepbooking show=packages] – shows only packages.

If you want to open the form in a popup, you can add trigger, trigger_type, and in_dialog=1 or configure these options in the builder widget. For a full shortcode reference, visit the Amelia shortcodes page.

Adding the Amelia Step-by-step form through a page builder

What layouts does the step-by-step form support?

The form has two layouts:

  • List layout – all selectors (service, employee, location) appear together in the first step.
  • Steps layout – the first screen is split into three steps for service, employee, and location selection.

You can switch layouts in Amelia → Customize → Step-by-step form. All remaining steps behave the same regardless of the chosen layout.

List and Steps layout options in the Customize panel

How does the first step adapt to my setup?

The first step shows different fields depending on your setup. If you have a single service, employee, or location, those fields are skipped automatically. When multiple choices exist, dropdowns act as filters, so selecting an employee narrows down available services and locations. If you configured Company email in Company settings, it appears as a clickable address at the bottom left corner of the form.

If the selected service is part of any package, package suggestions appear here for eligible license plans.

How does package booking work in the step-by-step form?

If a customer selects a package, they will see the list of included services and the number of required appointments. The form guides them through booking individual appointments based on minimum and maximum booking rules defined in the package. Remaining appointments can be scheduled later through the Customer Panel.

Package booking workflow inside the Step-by-step form

When does the extras step appear?

If the selected service has Extras, the Extras step appears immediately after the first step. Extras appear only if the Extras feature is enabled and they depend on configurations made when creating the service. They can adjust appointment duration and price.

Extras selection step in the Step-by-step form

When is the “bringing anyone with you” option shown?

If the service allows group bookings (additional people), customers can choose whether they’re booking for themselves or bringing guests. This depends on the capacity settings configured in the service.

How do customers choose date and time?

The calendar shows only available slots based on service duration, buffer times, employee working hours, special days, days off, and assigned locations.

If recurring appointments are enabled, the customer will be asked whether the appointment should repeat and will see recurrence details in the next screen.

You can learn more about this workflow in the Recurring appointments article.

Calendar and available time slots for booking

What information do customers enter?

In the Your information step, customers enter their name, last name, email, and phone number. These fields can be set as mandatory or optional in Customize → Step-by-step form. If the service has any custom fields assigned (booking or customer-related custom fields), they appear here.

Your information step in the Step-by-step booking flow

How does payment work in the form?

If the service has a price, the payment step appears. Customers can apply coupons (if enabled) and select among the payment methods configured globally or per service.

Depending on the provider, customers may complete the payment inside the form (Stripe, Square, or PayPal) or be redirected to an external checkout (WooCommerce, Mollie, Razorpay, Barion).

Free services skip this step.

Payment selection inside the Step-by-step form

What happens after the booking is done?

Customers see a confirmation screen with appointment details and add-to-calendar buttons for Google, Outlook, Yahoo, and Apple.

If the Customer Panel is enabled, a button leading to it appears here. Clicking Finish refreshes the page or redirects to a custom URL if configured in General settings.

Final confirmation screen after booking
Info Note

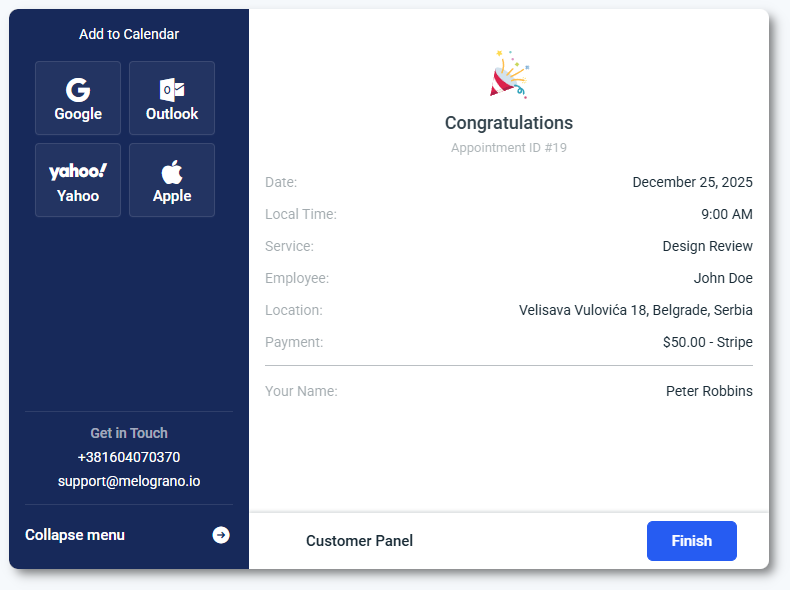
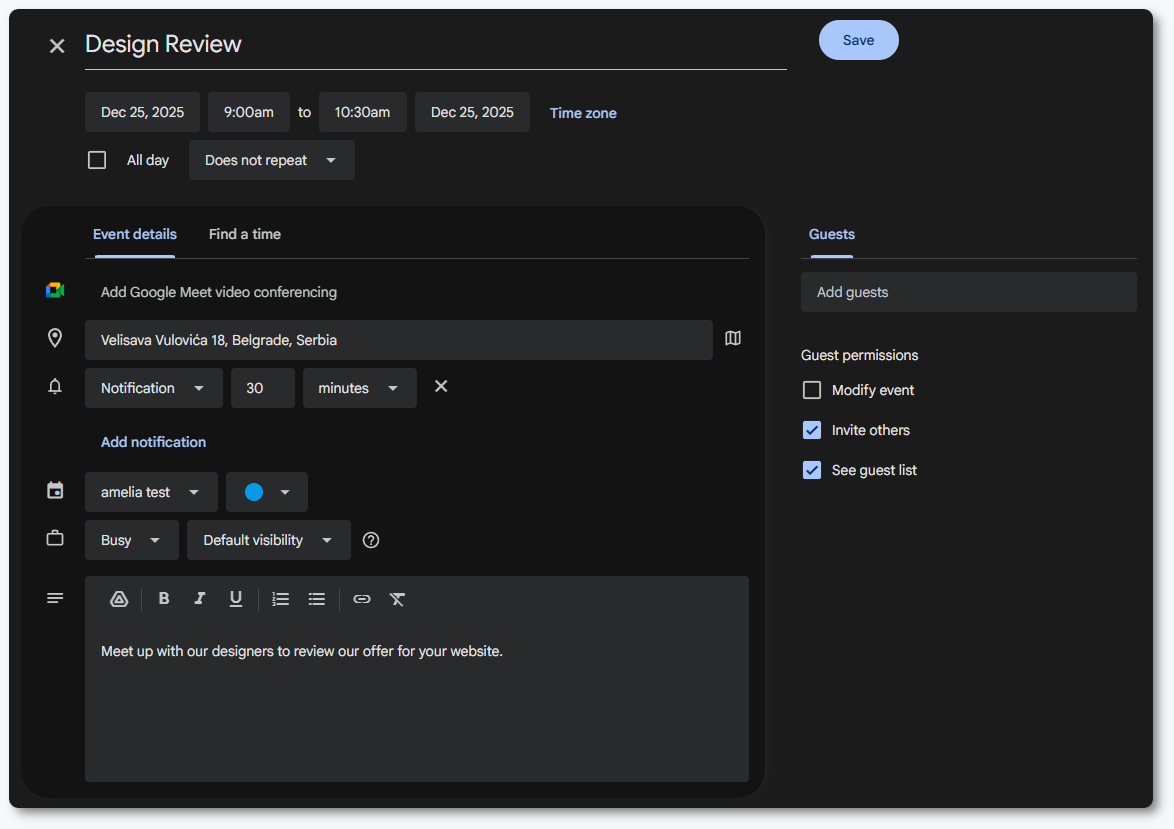
The add-to-calendar options pull all the appointment details and create an event in the calendar the user selected.

This option is not equal to Google/Outlook/Apple Calendar integrations and can be used without enabling or configuring these features. It's an optional step for the customer to simply add the appointment to their calendar.

The Google calendar add-event screen with appointment information pulled from Amelia

Why are some steps and options not explained in detail?

The Step-by-step form displays different fields depending on which Amelia features that affect your services are enabled. This article focuses only on how the form works, not on the full configuration of those features. Elements such as Extras, Recurring appointments, Custom fields, Coupons, Custom pricing, and Payment integrations follow the rules defined in their dedicated feature pages.

The form simply displays them when applicable. For detailed setup steps, refer to the relevant sections in the Features category.

What should I keep in mind when using the step-by-step form?

  • The form shows or hides fields automatically based on your services, employees, locations, and enabled features.
  • Shortcodes and builder widgets allow you to filter what appears in the first step.
  • Feature-dependent steps such as Extras, Recurring appointments, Coupons, and Custom fields appear only when configured in their own feature settings.
  • Both layouts (List and Steps) follow the same booking flow after the initial selection.
  • Package suggestions appear only when the selected service belongs to at least one package.
  • Payment options depend on global and per-service payment settings.