Events are the fastest way to begin using Amelia because they do not require employees. You can create and publish an event in just a few steps.
How do I create a new event in Amelia?
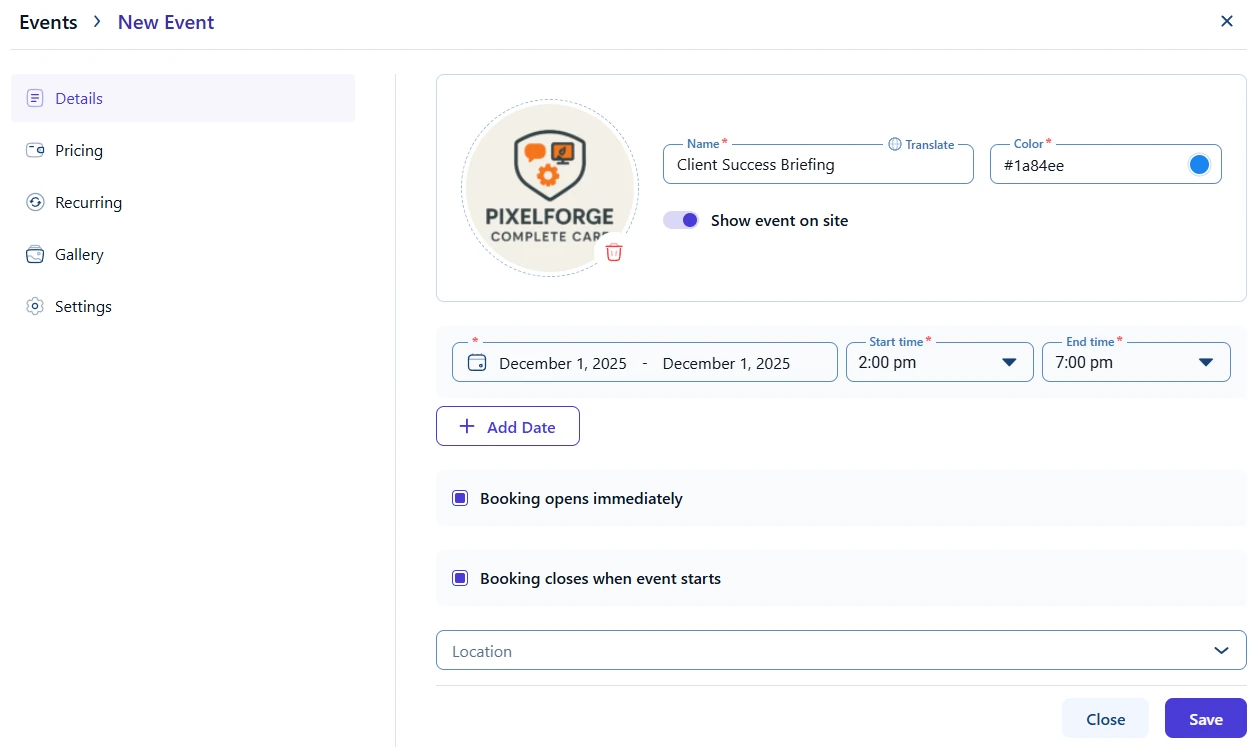
You can create a new event by going to Amelia → Events, then clicking + Event in the top right corner.
The event form requires only a few mandatory fields:
Event name
Event color (auto assigned if you skip it)
Start date and end date
Start time and end time
All other fields are optional, so you can publish a basic event in seconds.
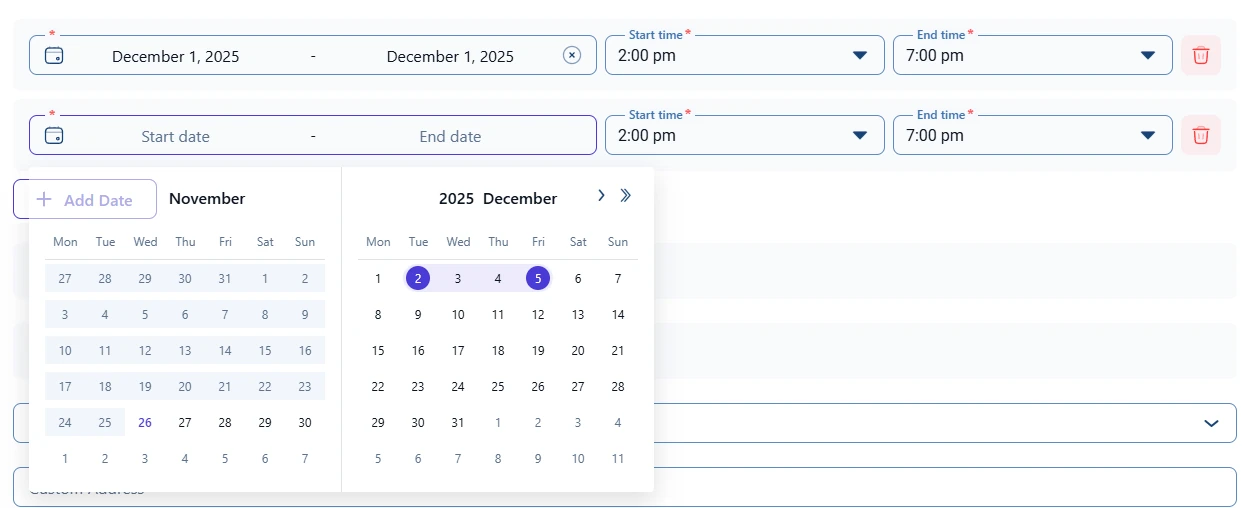
To choose a single date, double click a date in the calendar. To select a date range, click once on the start date and again on the end date. After that, set the event time and save.
Can I add more dates to an event?
Selecting a range of dates creates a multi-day event. Each selected day uses the same start and end time. For example, choosing December 2 to December 5 with a time slot of 09:00 to 10:00 creates an event that runs on those four days at the same time.
If you need the event to cover multiple date ranges or separate sessions, click + Add date. Each added block acts as another session or continuation of the event.
Can I add extra details to my event?
Yes, and all of them are optional. You can add a location, organizer, tags, a short description, or images.
The capacity and price of the event are set in the Pricing tab on the left side. That tab also includes additional configuration options, which are covered in the full Events documentation.
How do I publish the event on my site?
Once the event is saved, you can display it using:
Gutenberg, Elementor, or Divi blocks
Shortcodes such as:
[ameliaeventscalendarbooking] for a calendar
[ameliaeventslistbooking] for a list
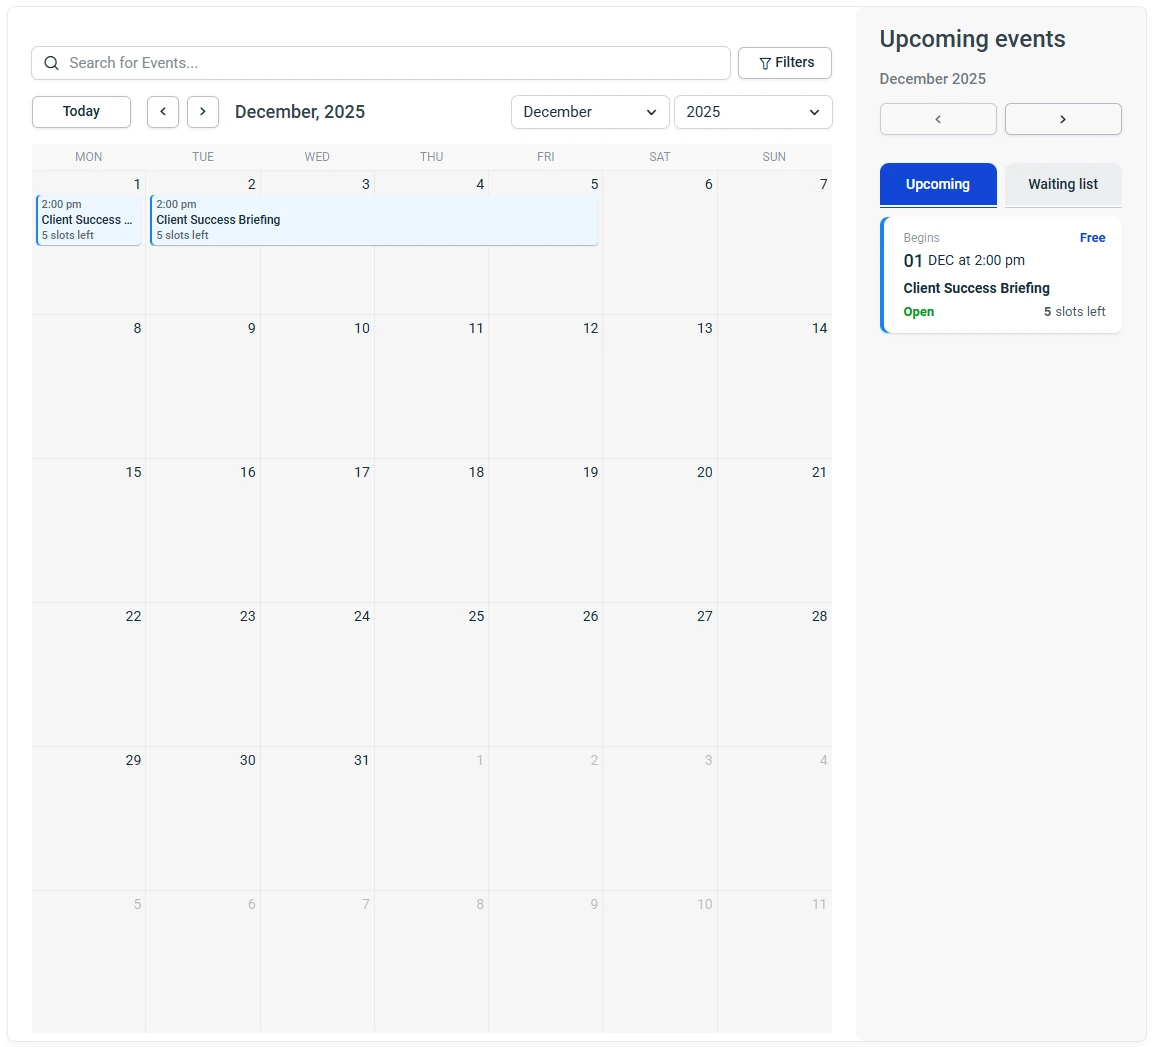
Event list
Event calendar
How do I test and manage my first event booking?
Open the page where you published the event and load it in an incognito window. Click on the event, click on the Book event button, fill in the attendee details, and confirm the booking. That’s your first test registration completed.
To review it, go back to your WordPress dashboard and open Amelia → Bookings → Events. You’ll see the attendee you just added.
Now, your event works – people can reserve spots instantly. Next, include extra dates or change fees and group size limits. Also, tweak descriptions to match your needs. Explore additional options like notifications, payments, and integrations to build a complete event-booking experience.