How to fix the “The link you followed has expired” error in WordPress
This error often appears when you try to upload a theme or plugin that’s larger than your server’s upload limit. Most WordPress sites have default server restrictions for file upload size and script execution time. If a file exceeds these limits (or if the upload takes too long) WordPress stops the process and shows this message:
“The link you followed has expired.”
How can I check my current upload limit?
You can quickly see your upload limit from your WordPress dashboard:
- Go to Media → Add New.
- At the bottom of the page, you’ll see a line like:
“Maximum upload file size: 2 MB”
(This is the default limit for many hosting providers, but it varies.)
If your file is larger than this value (or if your server timeout is too short), you’ll need to increase the limits.
How can I fix the upload size limit issue?
Fortunately, it’s not hard to fix. You can use one of several methods below to increase your upload limit.
Try only one method at a time. If it doesn’t work, undo the change before trying another to avoid conflicts.
Method 1: Edit the php.ini file
If your hosting environment gives you access to the php.ini file, this is the most reliable approach.
Steps:
- Connect to your site via FTP or your hosting control panel.
- Locate or create a
php.inifile in your root directory. - Make a backup before editing.
- Add or update these lines:
memory_limit = 256M
upload_max_filesize = 64M
upload_max_size = 64M
post_max_size = 64M
max_execution_time = 300
max_input_time = 1000
- Save the file and try the upload again.
Some shared hosts don’t allow direct access to this file. If that’s the case, try another method or contact your hosting provider.
Method 2: Edit the functions.php file
This method applies only to your active theme. If you switch themes later, you’ll need to reapply the changes.
Steps:
- Go to Appearance → Theme File Editor or access the file via FTP.
- Open the
functions.phpfile. - Add this code at the bottom:
@ini_set('upload_max_size', '100M');
@ini_set('post_max_size', '100M');
@ini_set('max_execution_time', '300');
- Save and test your upload again.
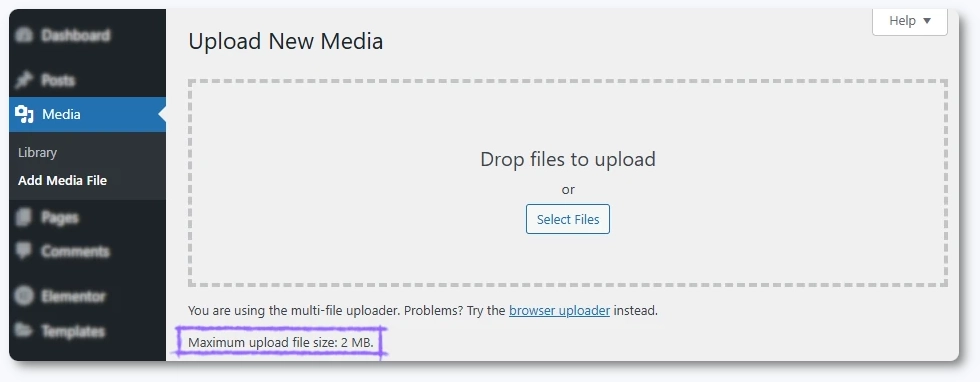
Avoid setting these limits too high, as it may affect your site’s performance or security.
Method 3: Modify the .htaccess file
You can also update PHP limits using .htaccess, a configuration file located in your WordPress root folder.
Steps:
- Locate your
.htaccessfile (enable hidden files if necessary). - Add this code at the bottom:
php_value upload_max_filesize 128M
php_value post_max_size 128M
php_value max_execution_time 300
php_value max_input_time 300
- Save the file and test the upload.
If your site shows a server error after saving, your host may not allow .htaccess overrides for PHP settings.
Method 4: Contact your hosting provider
If you’re not comfortable editing files (or if none of the above methods work), contact your hosting support.
Explain that you’re trying to upload a larger file and ask them to increase these values:
memory_limitupload_max_sizepost_max_sizeupload_max_filesizemax_execution_timemax_input_time
Include a screenshot of the error message to help them resolve the issue faster.