
We all know that owning a barbershop business is much more than cutting men’s hair. (more…)
There is no doubt that you need a personal trainer website whether you are just entering the fitness realm, or you are already a seasoned personal trainer seeking to develop a broader customer base. Having a personal training website is no whim, but an imperative in today’s internet era.
The fitness marketplace is a highly competitive field that has changed dramatically over the past decade. The way services were made available 10 years ago is no longer valid. Personal trainers don’t use their personality, figure, or knowledge to promote their services directly to customers.
It doesn’t work that way today anymore. You must build and grow a professional personal trainer website because consumers, 88% of them according to research, perform searches online to get all the information they need before they make any purchasing decision.
To understand why trainer websites are necessary, you have to ask yourself three fundamental questions:
- Are users able to locate me online quickly, and learn about the services I provide?
- Do I create a positive first impression via my current online presence?
- Is my website compelling enough to have users book an appointment with me?
You should have straight Yes-s throughout. However, if you have a single no among your answers you’ve come to the right place. We are providing you with the necessary tips to help you create a compelling, as well as visually appealing personal trainer website.
Step 1: Pick Your Domain Name

If you’ve already figured out a business name for yourself, then you only have to go and check with a name registrar for availability. If the outcome is not a happy one and your dream domain name is not available, it’s time to get creative and find alternate names for your domain.
Here are some rules to stick to when you can look up alternate names for your personal trainer website:
- Keep away from shadowy extensions when it comes to your domain name. .com remains the best choice if available, but you can also use an extension designated for the country that you operate your business from, such as .ca for Canada.
- Keep away from hyphens. It is always difficult to pass the name of your website along orally when it’s got one or more hyphens in it, such as joe-smith-personal-trainer.com.
- Refrain from using numbers inside your domain name because it confuses people. E.g.. joesmithpersonaltrainer1.com.
- Stick to appropriate abbreviations, such as PT for a personal trainer. Any other abbreviations don’t add up for someone who is not familiar with the industry.
- Keep away from made up abbreviations or words, such as personaltrainingworx.com. It doesn’t sound or look professional and requires extra clarifications as far as spelling is concerned.
Equipped with these straightforward rules, you can perform a thorough search on Google Domains and find the domain name that best suits you.
Step 2: Register Your Domain Name

The next step in creating a personal trainer website is to buy the domain that you’ve settled on and get exclusive rights to it. The domain service held by Google has an excellent reputation among the industry’s professionals.
You can choose to buy the domain for several years and pay for multiple years in advance. Of course, you can buy the domain and own it for one year at the end of which you get notified to make a new payment and continue to own the domain for another year.
Step 3: Purchase Web Hosting

Now that you’ve chosen a domain name and you’ve also bought your domain, you can move on to the next level and purchase web hosting, which you can do directly via your domain registry.
Step 4. Create Your Content

Many owners of personal training websites have chosen to create their content before thinking about a personal trainer website builder, a specific style or a specific type of website design. It is a good strategy and has worked successfully for the best personal training websites.
This strategy allows you to write your story before anything else, outline your website around the services that you offer, and then find the most appropriate design and style to suit your narrative line. Some of the best trainer websites have used this strategy.
When you write your content for your personal trainer website, you have to take into account some essential elements that you need to include, such as:
- Certifications and other credentials relevant to the fitness industry;
- Descriptions of the services, training programs, or classes you are offering;
- Direct testimonials of previous or current clients;
- Contact details, including a phone number, email, Google maps, as well as social media;
- Pricing policy for the services that you are providing;
- A blog presenting insightful information on your field of expertise.
Step 5: Create Your Must-Have Pages for Your Personal Trainer Website
If you look over fitness website ideas or personal trainer websites examples, you will discover they all have in common a particular type of information that users expect to find on a personal training website in general, which tells you that they find that sort of info to be relevant.
Therefore, you need to include information that people expect to find on your personal trainer website and make sure that you cover every segment of your target audience.
Break down your audience into existing customers, potential customers, fitness enthusiasts, and other people who wish to reach out to you. Target your copy to reach each category.
Read on to find a list of pages that you should include in your personal trainer website design:
-
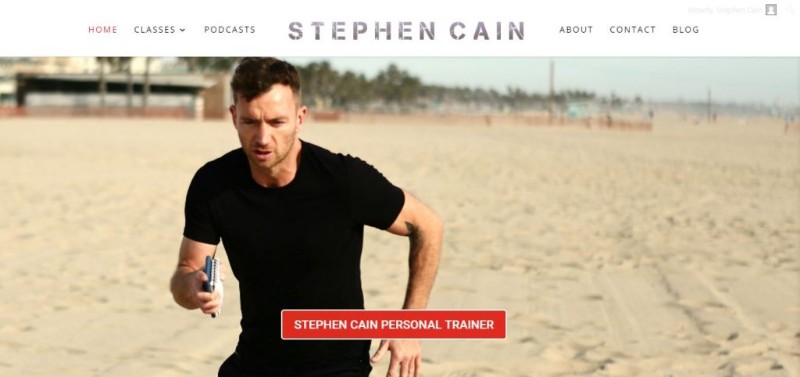
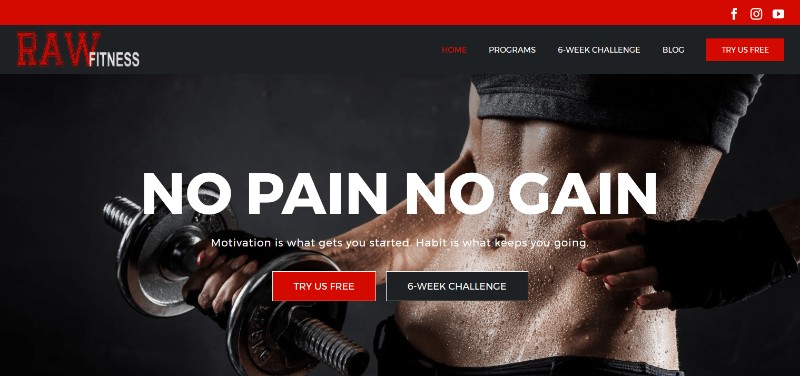
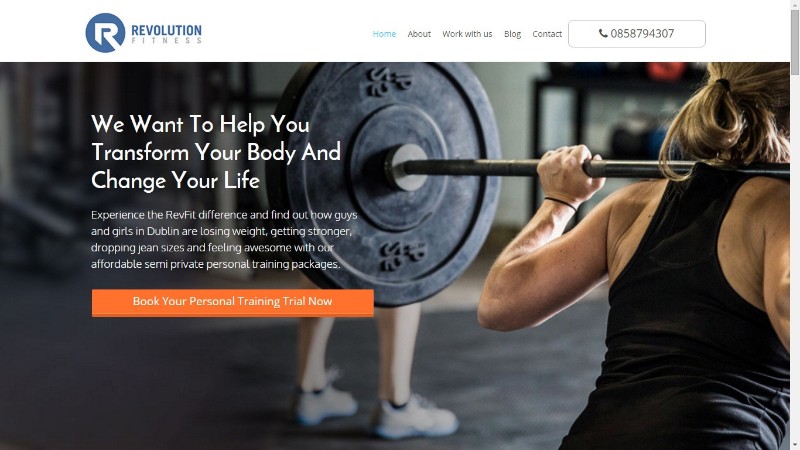
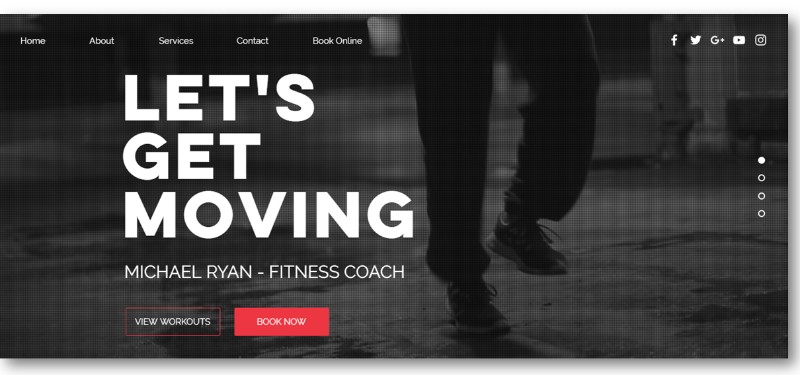
Homepage
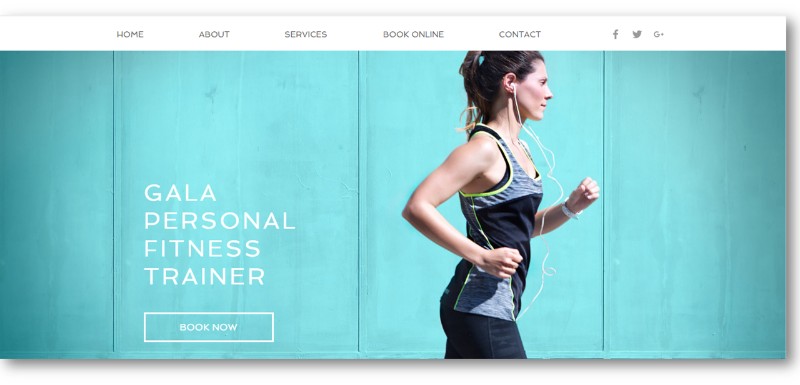
The importance of a well-designed home page can’t be stressed enough. Your homepage is the door to your business, as well as your business card telling visitors everything they need to know about you and the services that you are offering at a single glance.
Your homepage should include information about your areas of expertise in the fitness arena, mention any evergreen or occasional special offerings that you use to reward customers, make your location visible, and present them with all necessary contact details.
Using the sidebar menu or a footer menu to present special offers, news, contact details, Google maps, or blog posts is often a good idea that has been used successfully by personal fitness websites because content from those areas appears on every page of your website.
-
Meet the Team Page

Even if your team is made up of you alone, you still should include a Meet the Team page into your website design. This page is a must when you actually have a team consisting of various trainers each with their own area of expertise and experience.
A Meet the Team page is the perfect place to introduce to your potential clients each of your trainers with their pictures, names, credentials, accreditations, licenses, areas of expertise, experience as well as short professional and personal bios.
Visitors go to this page and select the trainer they want to book an appointment for a session with a particular trainer. The Meet the Team page is the page where you allow visitors to find out more about you and your team.
Add a personal touch to each biography to create a personality for each trainer. Sometimes, people worry about whether or not the personality of their trainer will be a good match for their own personality.
Feel free to use a Columns Element for the Meet the Team page. It will help you keep things organized and neat.
-
Services Page
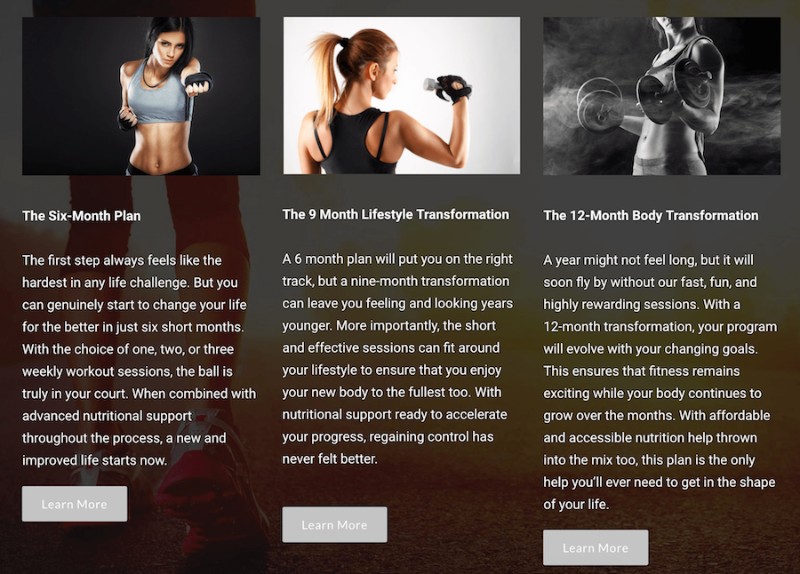
The services page is probably the page where your visitors will go first after your homepage. The Services Page is the page that allows you to present your users the type of services that you are offering, information about what each type of service, session length, and prices.
You can incorporate a Columns Element to keep it organized, a Text element for service name and the accompanying description of that specific services in the left column, as well as a Text Element with the price featured in the right column. Use the same logic for each service.
-
Photos Page

Nothing will advertise your competence better than before-and-after photos of your satisfied customers. You can either display before-and-after photos as a slideshow or as a mosaic depending on your personal preferences.
You can also add an Instagram Feed. This could increase your Instagram user engagement metrics a bit.
-
Store Page
You could also include a Store Page in your trainer website design that will permit your fans to support your training services. You can use the inbuilt e-commerce functions from Jimdo to make your products available on the Store Page of your website. However, later you will need to integrate an eCommerce ERP software to better manage all processes and projects.
-
Booking Page
It makes no sense to have a personal trainer website without a booking system for potential customers as well as existing customers to book an appointment with you directly on your website.
Make the booking process as simple and straightforward as possible.
Amelia is a cost-effective WordPress booking software that will make sure your bookings are managed 24/7 and your clients can make appointments at any time that is convenient for them.
-
Blog Page
People like to get informed when it comes to everything fitness-related, which is why you must equip your personal trainer website with a Blog Page. Your blog featuring the articles that you write will get you more traffic and therefore increase your conversion rate.
You can also use videos that you’ve uploaded to Vimeo or YouTube as independent blog posts. For creating a video, use proper tools. It will gain even more traction for your fitness website. Use the Video Element to display your training sessions.
-
Contact Page
Visitors landing on your personal training website must be able to get in touch with you, and they should be able to do it quickly and without too much hassle. They may need information about your rates, availability, training services, rescheduling, or any other type of information.
A Form Element Place anywhere on your website will make an excellent contact page. You can create the contact page for every visitor will be able to find any contact detail they may be looking for: email addresses and telephone numbers for each of your trainers and social media links to your company as well as your trainers.
Also, you could consider getting the contact page altogether and using the sidebar/footer area to add your contact information. This way you will have your contact info displayed on every page of your personal training website
Summary
You need to invest a lot of time and effort into promoting yourself to become a recognized personal trainer. You need to invest in your own marketing whether you are an independent trainer, or you work for a fitness club that doesn’t focus on promoting you.
A personal training website backed by solid social media strategies will reward your marketing efforts with a healthy return on investment. Having your own website is not a whim, but an imperative.
If you enjoyed reading this article on creating a personal trainer website, you should check out this one with gym WordPress themes.
We also wrote about a few related subjects like how to be a successful Beachbody coach, gym names, starting a fitness business, opening a gym, gym management software, gym marketing, managing a gym, and gym owner mistakes.
In an ever-changing world, it is nice to have manageable tools by your side to help organize your schedule. Google Calendar provides many features that assist in scheduling, managing, and inviting people to events. (more…)
It has always been a challenge to organize a busy schedule. Wall calendars, agendas, and sticky notes are common tools in the battle of scheduling. (more…)