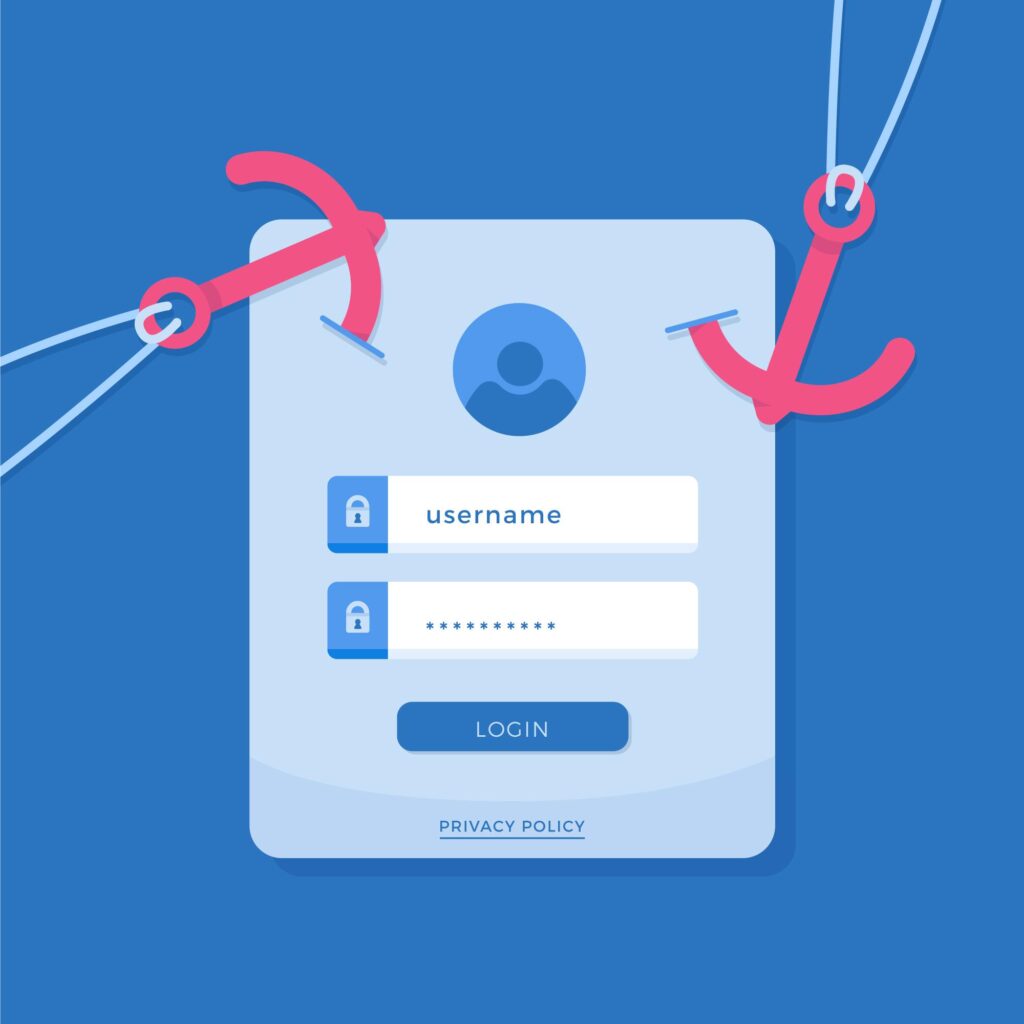
As cyber threats are becoming more and more sophisticated, the security of your WordPress site can’t be left to chance.
Most site owners understand the importance of strong passwords and up-to-date software, but there’s one overlooked vulnerability that many miss: the login page itself. By default, WordPress sites use predictable URLs for login access, such as /wp-admin or /wp-login.php. However, if you create a custom WordPress login URL, it can be far more difficult for attackers to exploit your page.
This small step can greatly impact your site’s overall security, especially when combined with other methods.
The Risks of Using Default Login URLs
The default WordPress login page is easy to find; just type in /wp-admin or /wp-login.php after your domain name, and you’re there. This simplicity is convenient, but it also makes your site vulnerable. Think of it as locking your front door and hiding the key under the doormat. Even if your password is strong, if the entrance is easy to find, it’s still vulnerable to attack.
Because these login URLs are common knowledge, they’re often the first place hackers target. Automated scripts run countless login attempts, and with enough tries, hackers can eventually gain access.
Why You Should Create a WordPress Custom Login URL
As you can see, accessing the default WordPress login page is fairly simple. That standard format is something both regular users and hackers can enter. This makes your website prone to brute-force attacks.
For those who may not be familiar with it, brute force attacks are hacking attempts where a hacker tries to guess your username and password. The process is repeated, usually using lists of common usernames and passwords that are leaked on the web. No matter how difficult your credentials may be, hackers will try thousands of combinations, taking advantage of the scripts that automate the process. If you’ve noticed an increase in failed login attempts, this could very well be the reason.
Changing your WordPress login URL can significantly reduce the likelihood of such attacks. By obscuring the login page, you make it much more challenging for hackers to target your site effectively. This added layer of security, combined with a strong password policy, can greatly enhance your overall site protection and give you peace of mind.
Creating a Custom Login URL in WordPress
While many still find this process unnecessary, taking the time to create a custom WordPress URL should be a common practice. Making it more difficult for potential attackers to access your page means more protection. And any unauthorized entry can be a threat to everything you’ve built, so it should be taken seriously.
Although many believe choosing a strong and unique password is more than enough, there are always additional measures you should take to enhance your website’s security.
Change your login page with a plugin
A plugin is one of the simplest ways to change your WordPress login page. This method allows you to customize your login URL without needing to dive into code, making it accessible for users of all skill levels.
To begin, you’ll want to choose a reliable plugin tailored to modify the login URL. Popular options include WPS Hide Login or Solid Security. These plugins are well-regarded for their ease of use and functionality.
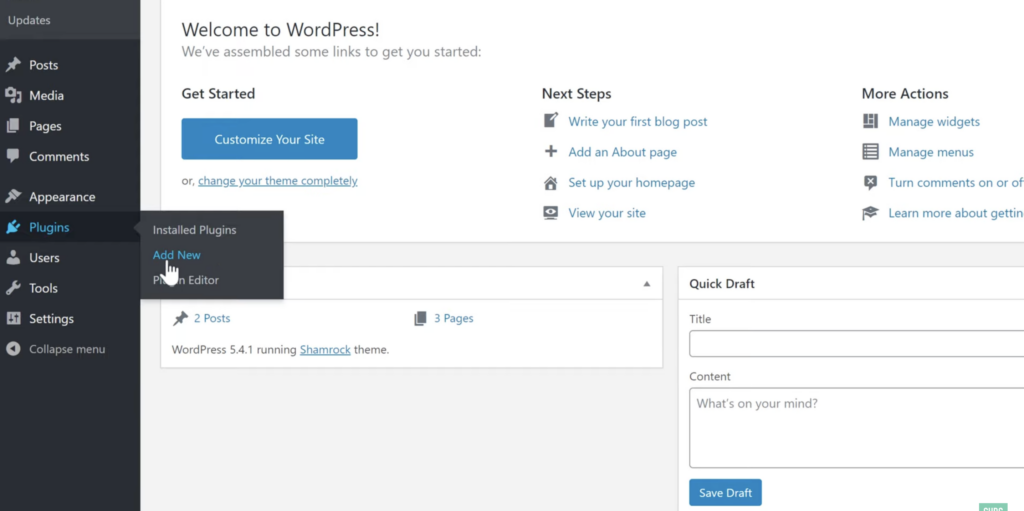
The installation process is the same, no matter which one you choose. Head to your WordPress dashboard, navigate to the “Plugins” section, and click on “Add New”. From there, you can search for the plugin you’ve chosen, install it, and activate it.
To properly set it up, follow these steps:
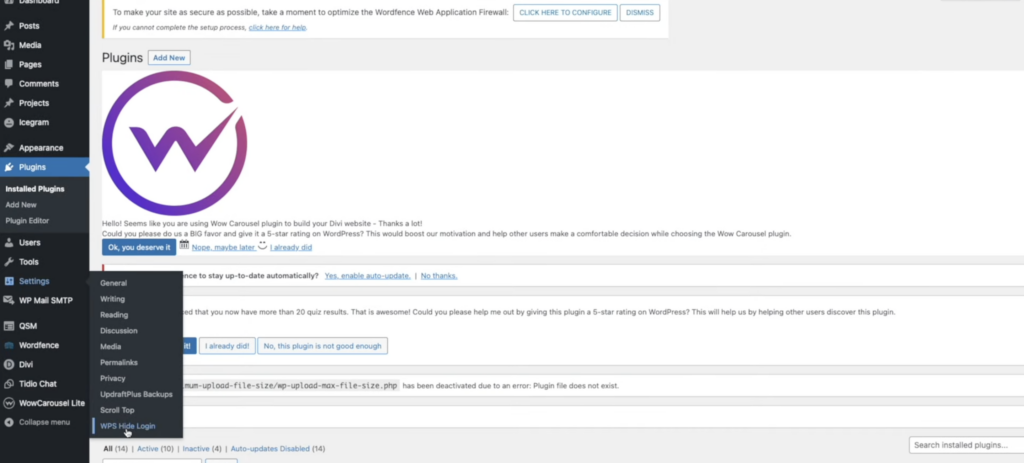
- From the “Settings” tab in your sidebar, click on the plugin you installed.

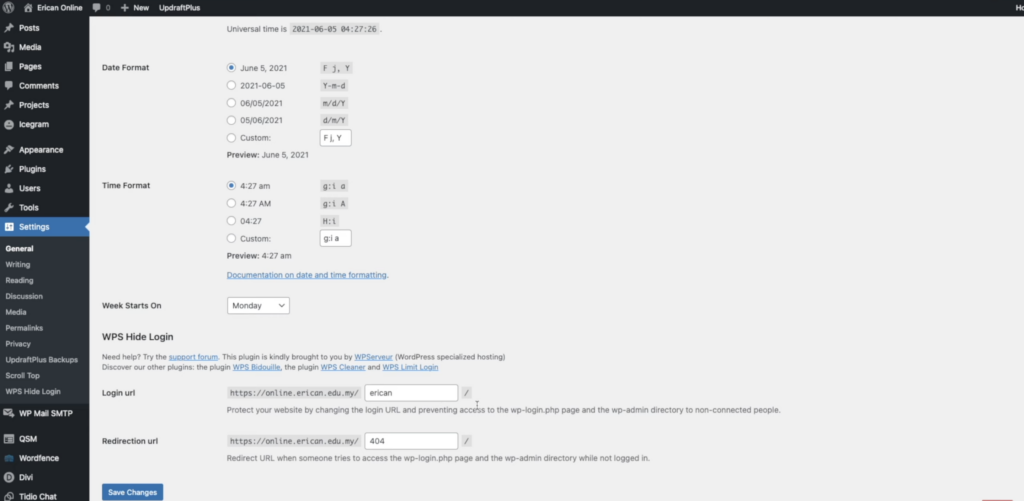
Image source - Add your new Login URL path in the Login URL field.
Image source - In the Redirection URL field, add a specific redirect URL. This is the page that will open once someone tries to access the standard wp-login or wp-admin page while signing out.
- Click on “Save Changes”.
It’s important to test the new login URL to ensure everything works as intended. Open a new browser window and input your custom login URL. You should be able to access the login page seamlessly.
If you have multiple users who log in to your site, be sure to share the new login URL with them. This will prevent confusion and ensure they can easily access their accounts.
Lastly, we suggest you bookmark this new WordPress login URL, as it will be much harder to find if you forget it.
Change your login page by changing the .htaccess file
If you are looking to change your WordPress login page without any additional plugins, you can do so by changing the .htaccess file. Before making any changes, it’s crucial to back up the entire site to ensure restoration if needed, especially when dealing with core files.
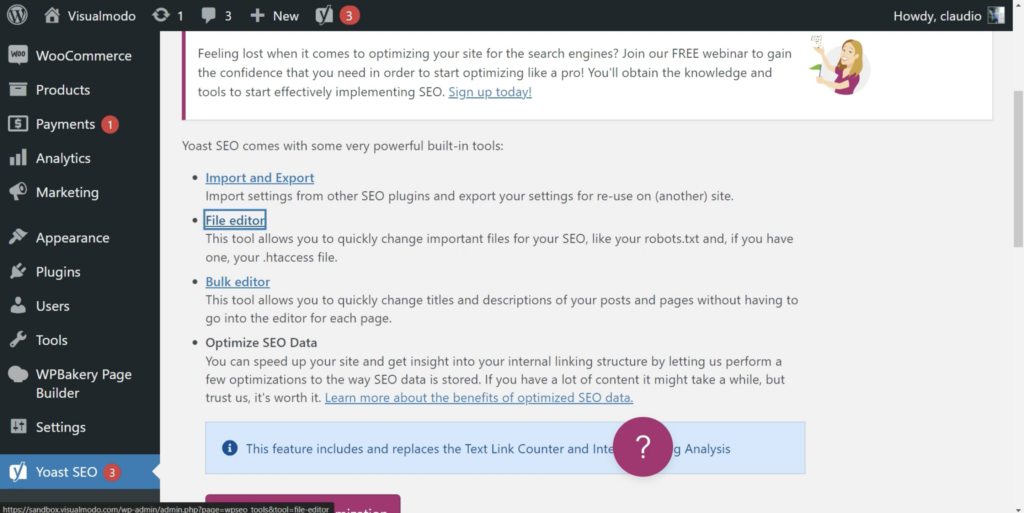
This .htaccess file is located in the root directory of your WordPress installation. You can access it using an FTP client or Yoast SEO.
In the file editor, you should add the following code to set a custom login URL:
# Redirect the default login URL
RewriteEngine On
# Redirect wp-login.php to the custom login page
RewriteCond %{REQUEST_URI} ^/wp-login\.php [NC]
RewriteRule ^(.*)$ /my-custom-login/ [R=301,L]
# Redirect wp-admin requests to the custom login page if not logged in
RewriteCond %{REQUEST_URI} ^/wp-admin
RewriteCond %{HTTP_COOKIE} !^.*wordpress_logged_in_.*$ [NC]
RewriteRule ^(.*)$ /my-custom-login/ [R=301,L]
While typing in the code, don’t forget to replace the /my-custom-login with a unique URL. After saving the changes, be sure to upload the modified .htaccess file back to the server and test the code by opening a new browser window and entering the new login URL. If successful, you should be able to log in securely.
What to do if you change your login URL and lose it?
This may seem like a worst-case scenario, but we are here to ensure you that it’s fixable. The first stop should be your email. If you used a plugin to change your URL, there is a chance you will have an email with the new URL in your inbox. On the other hand, if that’s not the case, here is what else you can do.
For URLs that are changed using the .htaccess file, the easiest way to fix it is to access the FTP and revert any changes you’ve made. Now, your login URL should be restored to the default one.
As a last resort, you can also try to access your database through phpMyAdmin and look for the relevant entry in the options table that might indicate the new login URL, depending on how the change was implemented. In case none of these tactics work for you for whatever reason, a quick solution could be contacting your hosting provider.
Conclusion
Creating a custom login URL in WordPress may seem like a small, insignificant tweak, but it’s a powerful way to enhance your site’s security. Hiding your login page behind a custom URL makes it much harder for attackers to gain unauthorized access. That being said, it’s important to remember that no single security measure is foolproof.
While customizing your login URL is a great first step, it should be part of a broader, multi-layered security strategy. Using two-factor authentication, regularly updating your WordPress version and plugins, and backing up your site frequently are all critical components of keeping your site safe from evolving cyber threats.
Lastly, remember that securing your website is an ongoing process, not a one-time fix. The sooner you implement these best practices, the better you can protect your website.

Explore topics
Google Calendar Vs Apple Calendar: Which One to Use
Acuity Scheduling vs Square Appointments: The Best of the Two
Introducing Amelia and IvyForms: A New Way to Collect Details Before Booking
Calendly vs. Doodle: Why One Is Better Than the Other
Per-Person Pricing vs Flat Rate Pricing: Which One Fits Your Service?

Read Inspiring Customer Stories
Check out how our user set Amelia for his business