Running a business often feels like balancing a thousand tasks at once — from managing appointments and clients to coordinating schedules and employees. Keeping everything aligned can quickly become overwhelming. But here’s the truth: The last thing you need is for clients to miss their appointments or wonder if they’re booked correctly.
Fortunately, you don’t have to manage every detail manually. In this guide, we’ll show you how to set confirmation emails and texts in Amelia, so your clients are always informed and your schedule stays on track.
How to Set Confirmation Emails in Amelia: Step-by-Step Guide
Notifications are emails and texts sent to your customers and employees about upcoming events or appointments. They can be sent immediately after an event is triggered, at a scheduled time after the appointment, or at any specified time of the day.
Step 1: Log in to your WordPress account
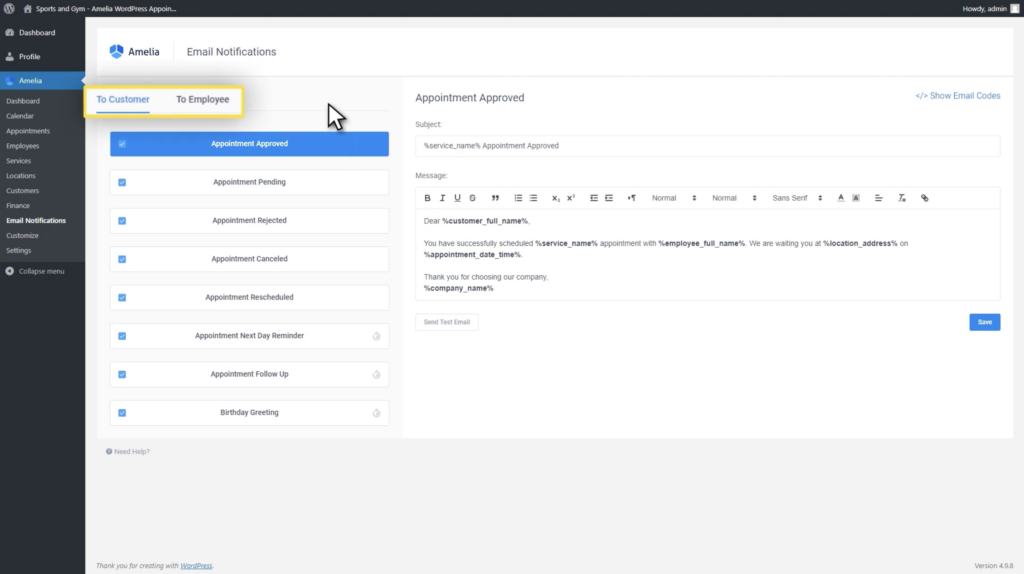
After you access your WordPress dashboard, navigate to “Amelia” and then click on “Email Notifications”. Here you’ll see that the notifications are divided into two tabs:
- To Customer
- To Employee
From here, you can manage who gets which notifications. There are five types for both groups, plus three additional types just for the customer.
Step 2: Configure the Settings
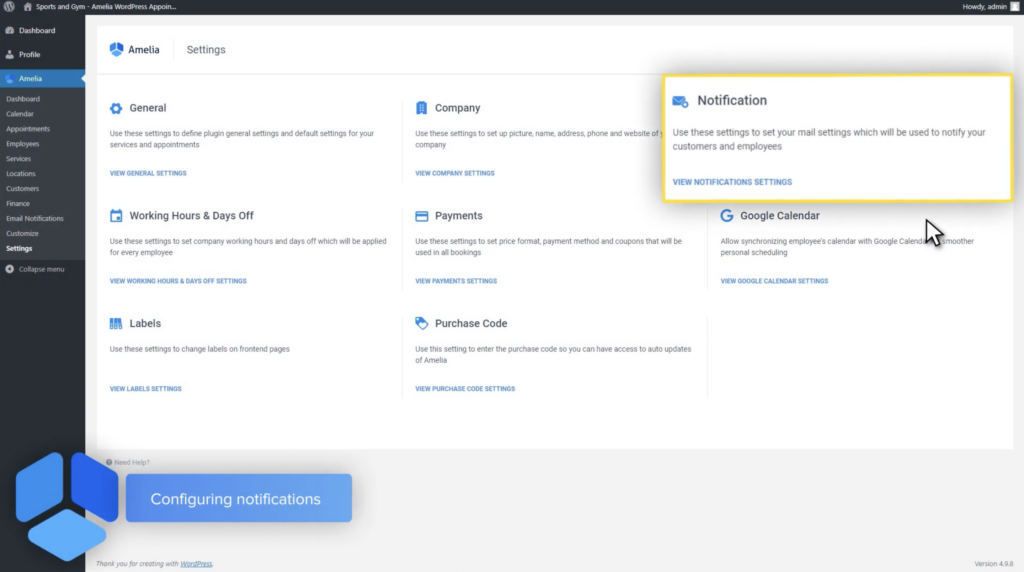
Once you’ve got familiar with all the different types of notifications you can send, you first need to configure the notification settings. Click on the “Settings tab” in Amelia’s sidebar, then select “Notifications”.
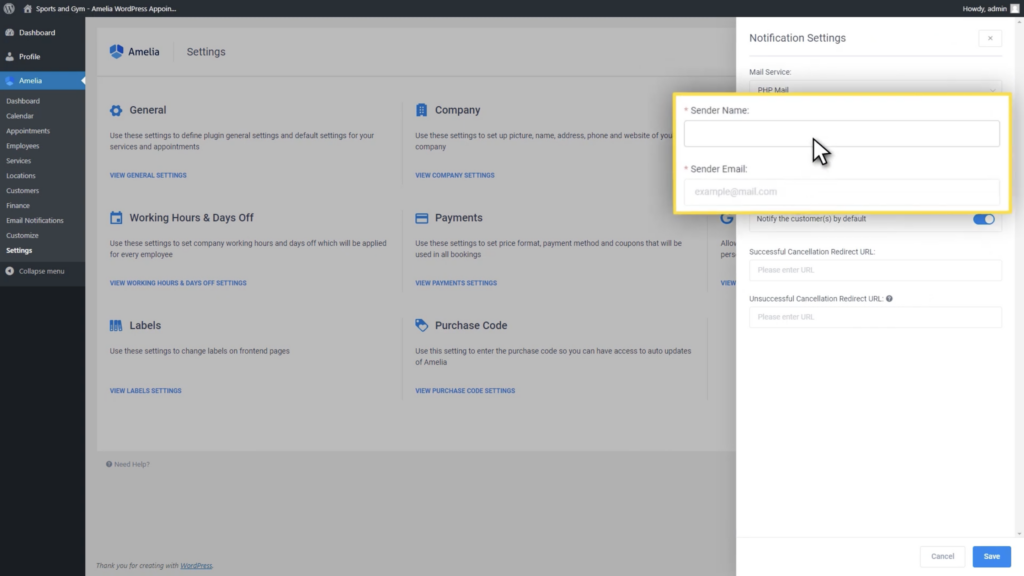
After the side menu pops up, fill in the fields for Sender Name and Sender Email. By default, Mail Service is set to PHP Mail, but we strongly recommend changing it to any other mail server.
Step 3: Set up individual notifications
Now that’s sorted, go back to the “Email Notifications” tab. Here, you’ll see that all the notifications to both the customer and the employee are checked. Be sure to unmark each type of notification you don’t want to be sent. You can do so by clicking on the check box on the left side of each field.
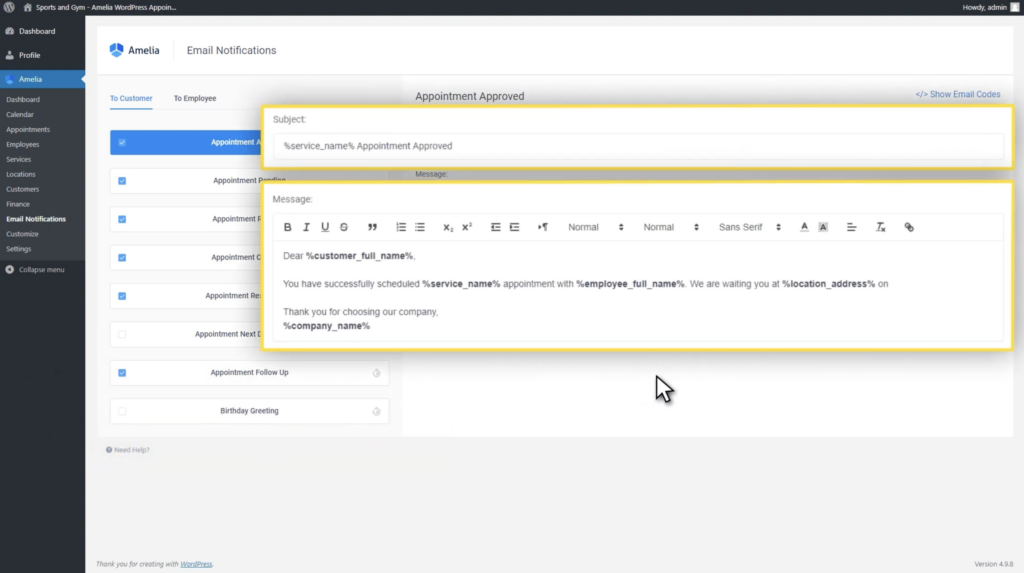
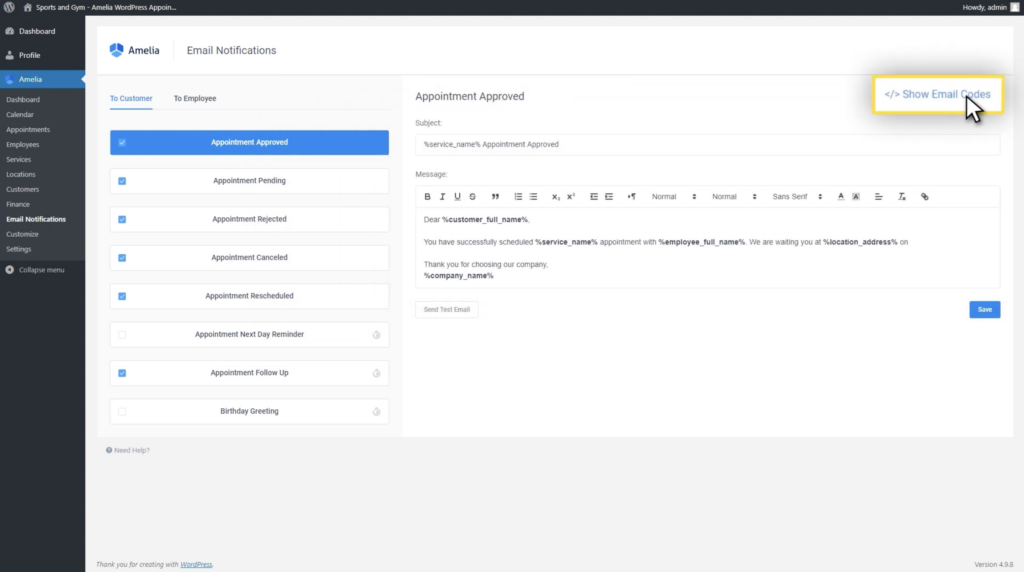
For each type of notification, you can fully customize the subject line and the message sent. Just make sure to insert the right placeholders by clicking on ”Show Email Codes” on the right upper side of the notifications page. Once you click on the appropriate placeholder, it will be copied, and you can paste it into the text area.
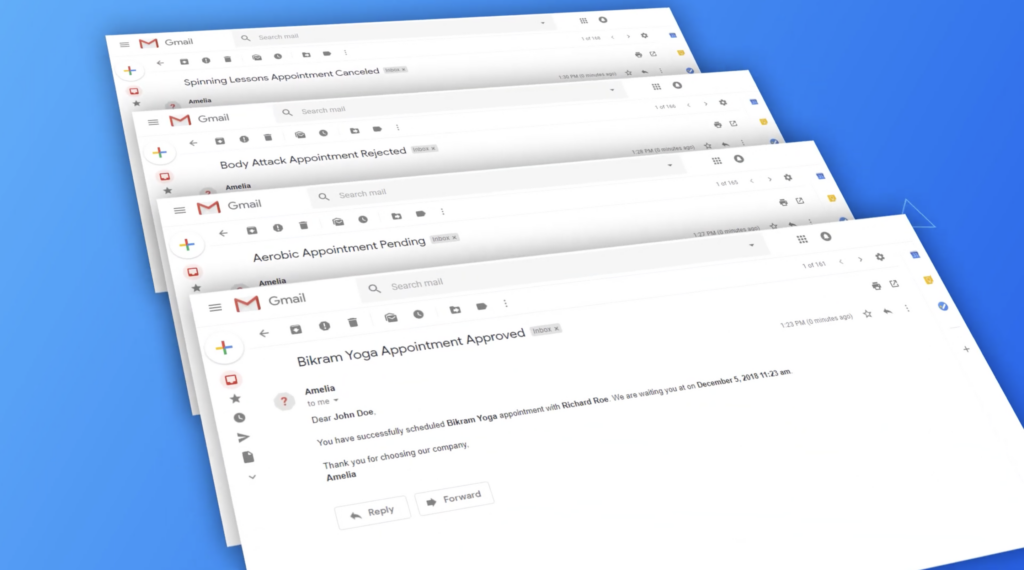
The notifications received by your customers and employees will have the placeholders replaced with real data.
Step 4: Enable the scheduled notifications
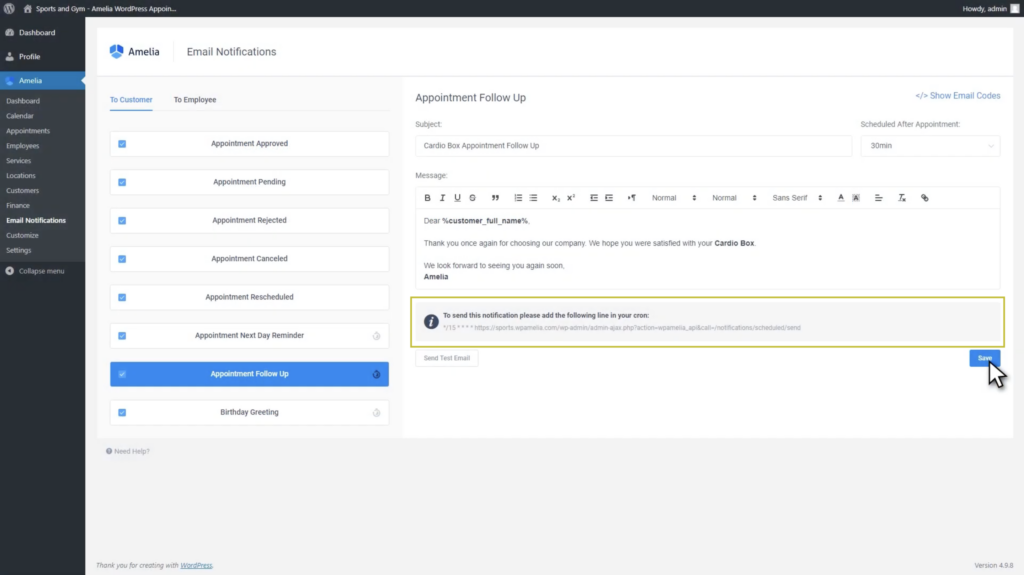
Scheduled notifications require additional configuration on your server’s cron scheduler. These are three additional notification types only available for the customers. You can recognize them by the clock icon located to the right of the notification name.
Once you click on any of these notifications, you’ll see a command under the Message field. Copy the command and paste it into the crone file. After this configuration is complete, your scheduled notifications will be sent to your customers at the set time.
What Type of Email Notifications Can I Send Using Amelia?
As we briefly mentioned, there are five types of notifications you can send to both the customer and the employee. Here is a quick breakdown:
- Appointment Approved Notification – This email notification will be sent after your customer completes the booking procedure or when an appointment is created from the backend. If your appointment default status is set to Pending, this notification will be sent after you approve the appointment.
- Appointment Pending – this is the notification that will be sent when the appointment is created with a pending status.
- Appointment Rejected – if the administrator or the manager rejects the appointment, both the customer and employee will be notified.
- Appointment Cancelled – after the customer cancels the appointment, both parties will receive this notification.
- Appointment Rescheduled – in case the date or the time of the appointment changes, it will trigger this type of notification.
As for the additional notifications, which can be sent only to a customer, they include the following:
- Appointment Next Day Reminder – for notifying your customers about their appointments scheduled for tomorrow.
- Appointment Follow-Up – an email notification sent after the appointment. Here, you can select when exactly after the appointment the notification will be sent.
- Birthday Greetings – for congratulating customers on their birthday. However, keep in mind that the Date of birth field must be filled in the customer profile.
Free Appointment Confirmation Email Generator
How to Set Confirmation Texts in Amelia
Besides email notification, Amelia also offers the ability to send SMS messages to your customers and employees. They can also be sent at three different times: immediately after an event is triggered, at a specified time after the appointment, or at any pre-scheduled time of the day.
Step 1: Create your account
To begin setting up your SMS notifications, log into your WordPress account and from your menu, click on “Amelia”. From there, click on the “Notifications” page, right beside the “Email Notifications” tab. Once you click on the “SMS notification” tab, you will see the option for creating an account.
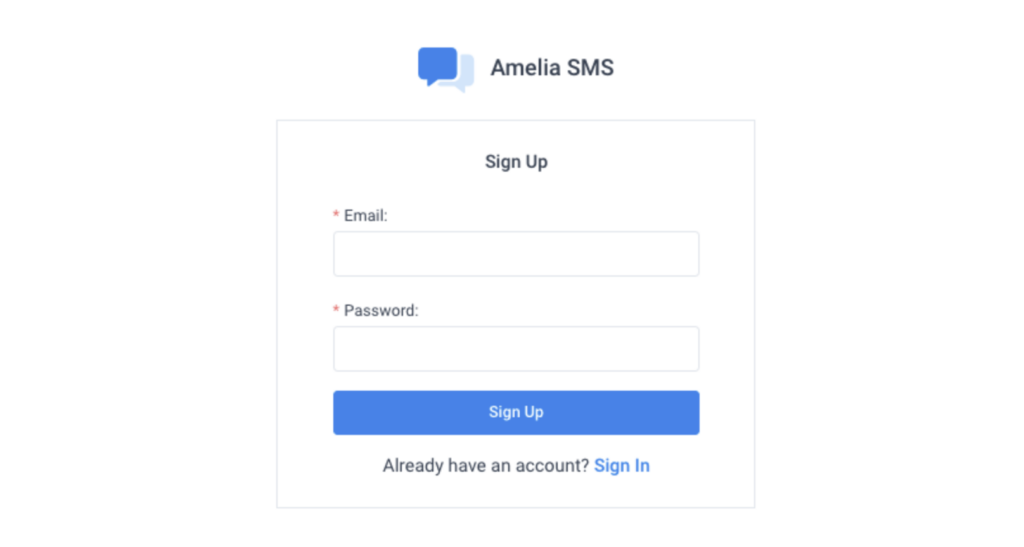
Click on the “Sign Up” option to create your SMS notifications account. You’ll need to provide your email and set a password. Once registered, you’ll be directed to the SMS notifications page. If you already have an account, simply sign in with your credentials.
Step 2: Set up your SMS notifications
Once you’re logged in, you’ll land on the “SMS History” page, which will be blank for now since no messages have been sent yet.
On the left, you’ll see a menu with an option for “Customize SMS”. Click on it, and you’ll be taken to a page similar to the email notifications page. Here, you can check off which notifications you want to send to your customers and employees.
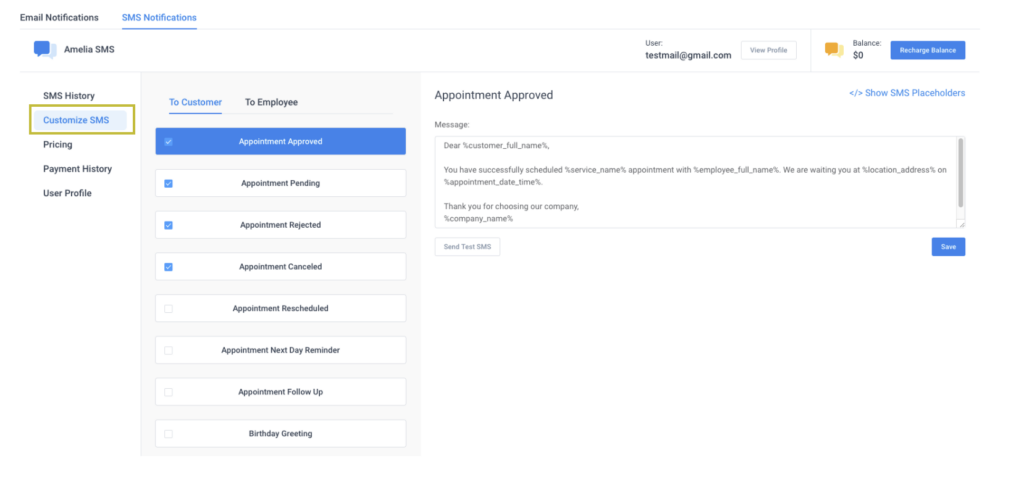
Just like with email notifications, you can fully customize the SMS message content. You’ll also find a “Show SMS Placeholder” option on the right.
Step 3: Add funds to your account
Before you can start sending SMS messages, you’ll need to add funds to your account.
To do this, go to the “Recharge Balance” section, located on the right side of the page. Click on it, and you’ll see a selection of preset payment amounts, such as $10, $20, $50, $100, $200, and $500. Choose the amount you’d like to add, and then proceed to make the payment.
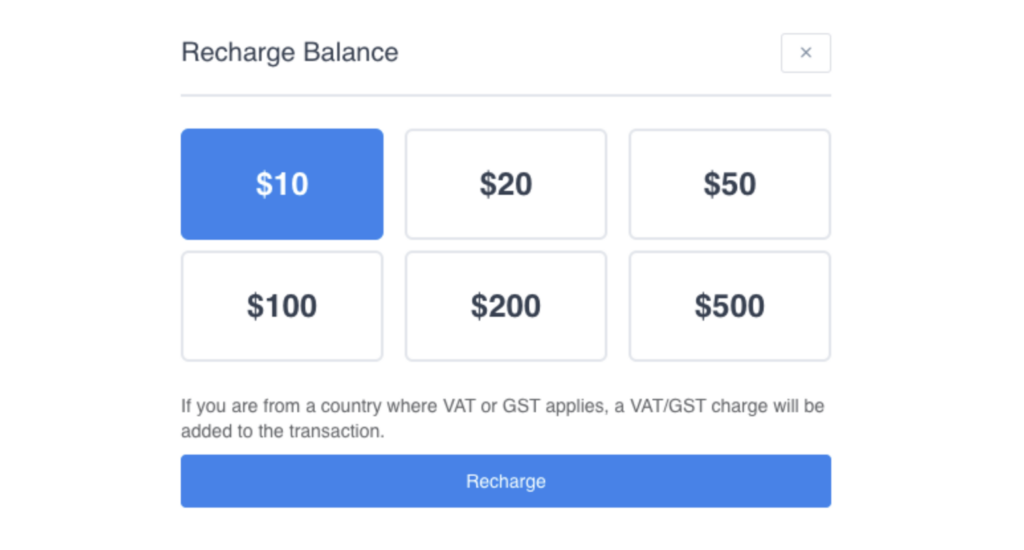
Once your payment is processed, your account balance will be updated, and you’ll be ready to start sending SMS notifications.
Wrapping up
With no-shows posing such a big threat to any service-based business, having notifications and reminders configured can save you a lot of time and revenue. Make sure both your clients and employees are always in the loop so there are no unpleasant surprises down the line.
If you have any trouble following this guide, here is a video version to help you set up your email notifications:
For more detailed information on SMS notifications, including pricing, payment history, and advanced settings, be sure to check out the documentation on SMS Notifications in Amelia.

Explore topics
Google Calendar Vs Apple Calendar: Which One to Use
Acuity Scheduling vs Square Appointments: The Best of the Two
Introducing Amelia and IvyForms: A New Way to Collect Details Before Booking
Calendly vs. Doodle: Why One Is Better Than the Other
Per-Person Pricing vs Flat Rate Pricing: Which One Fits Your Service?

Read Inspiring Customer Stories
Check out how our user set Amelia for his business